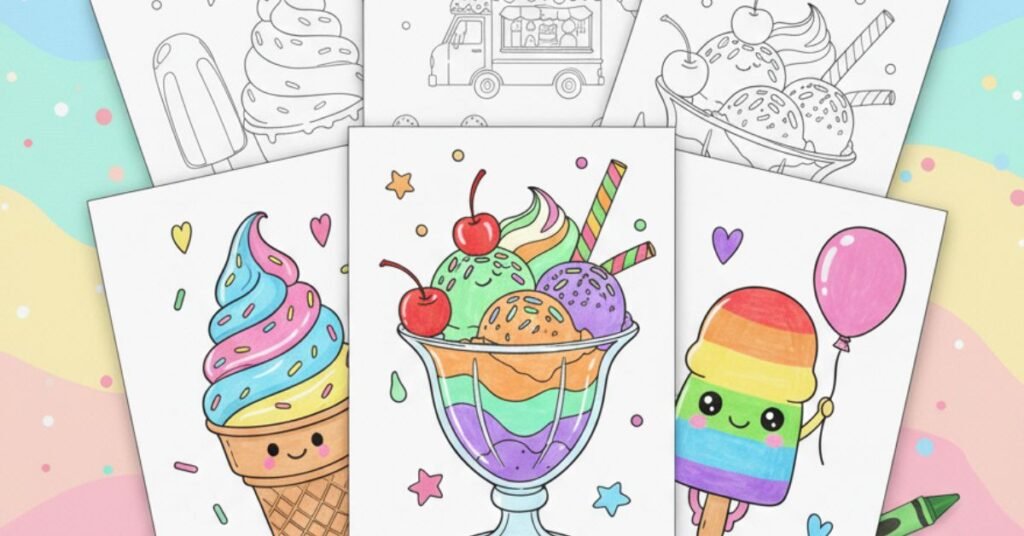
ice cream coloring pages offer ten complete printable scenes for children, families, teachers, and coloring enthusiasts. This collection focuses on cones, cups, sundaes, frozen treats, topping patterns, counting, pretend-shop play, and summer celebration scenes. Readers can choose a broad beginner-friendly design or a detailed setting that supports longer creative work.
This collection ranges from one large beginner-friendly cone to a detailed shop counter and party bar. Scoops, cups, wafers, fruit, sauces, signs, napkins, and outdoor details invite color choices without requiring every page to look alike.
Dessert pictures work well for pattern practice. Alternate sprinkle colors, repeat stripes around a cup, shade a waffle grid lightly, or assign one color family to fruit and another to dishes so the composition stays easy to read.
For a different creative subject after these ice cream coloring pages, explore robot colouring in pages. Changing the subject while keeping the same supplies can refresh attention and encourage a new palette.
What These Ice Cream Coloring Pages Include
The ice cream coloring pages collection is organized around ten genuinely different compositions. The pages vary pose, setting, object count, movement, and background density, allowing an adult to select a design that matches the available time and the colorist’s confidence.
A useful starting palette for ice cream coloring pages includes strawberry pink, vanilla cream, chocolate brown, mint green, blueberry violet, cherry red, waffle gold, and turquoise accents. The colors are suggestions rather than rules. An artist can replace expected hues, invent a season, or use one repeated accent to connect separate parts of the composition.
Before coloring, scan the whole page and identify the largest subject, two medium areas, and the smallest details. Filling the broad shapes first gives the picture structure. Pencils can then add patterns or controlled shading where the outline provides enough room.
10 Printable Ice Cream Coloring Pages
Each of the following ice cream coloring pages has a complete automation block with a unique filename, alt text, image title, and caption. Open the full-size artwork on PintyMinty before printing so the browser does not enlarge a small preview or crop important edges.
Single Scoop Cone With Stars And Sprinkles
This page from ice cream coloring pages collection shows single scoop cone with stars and sprinkles. The composition has a clear focal subject, supporting objects, and enough open space for an original palette, background mood, and short story.
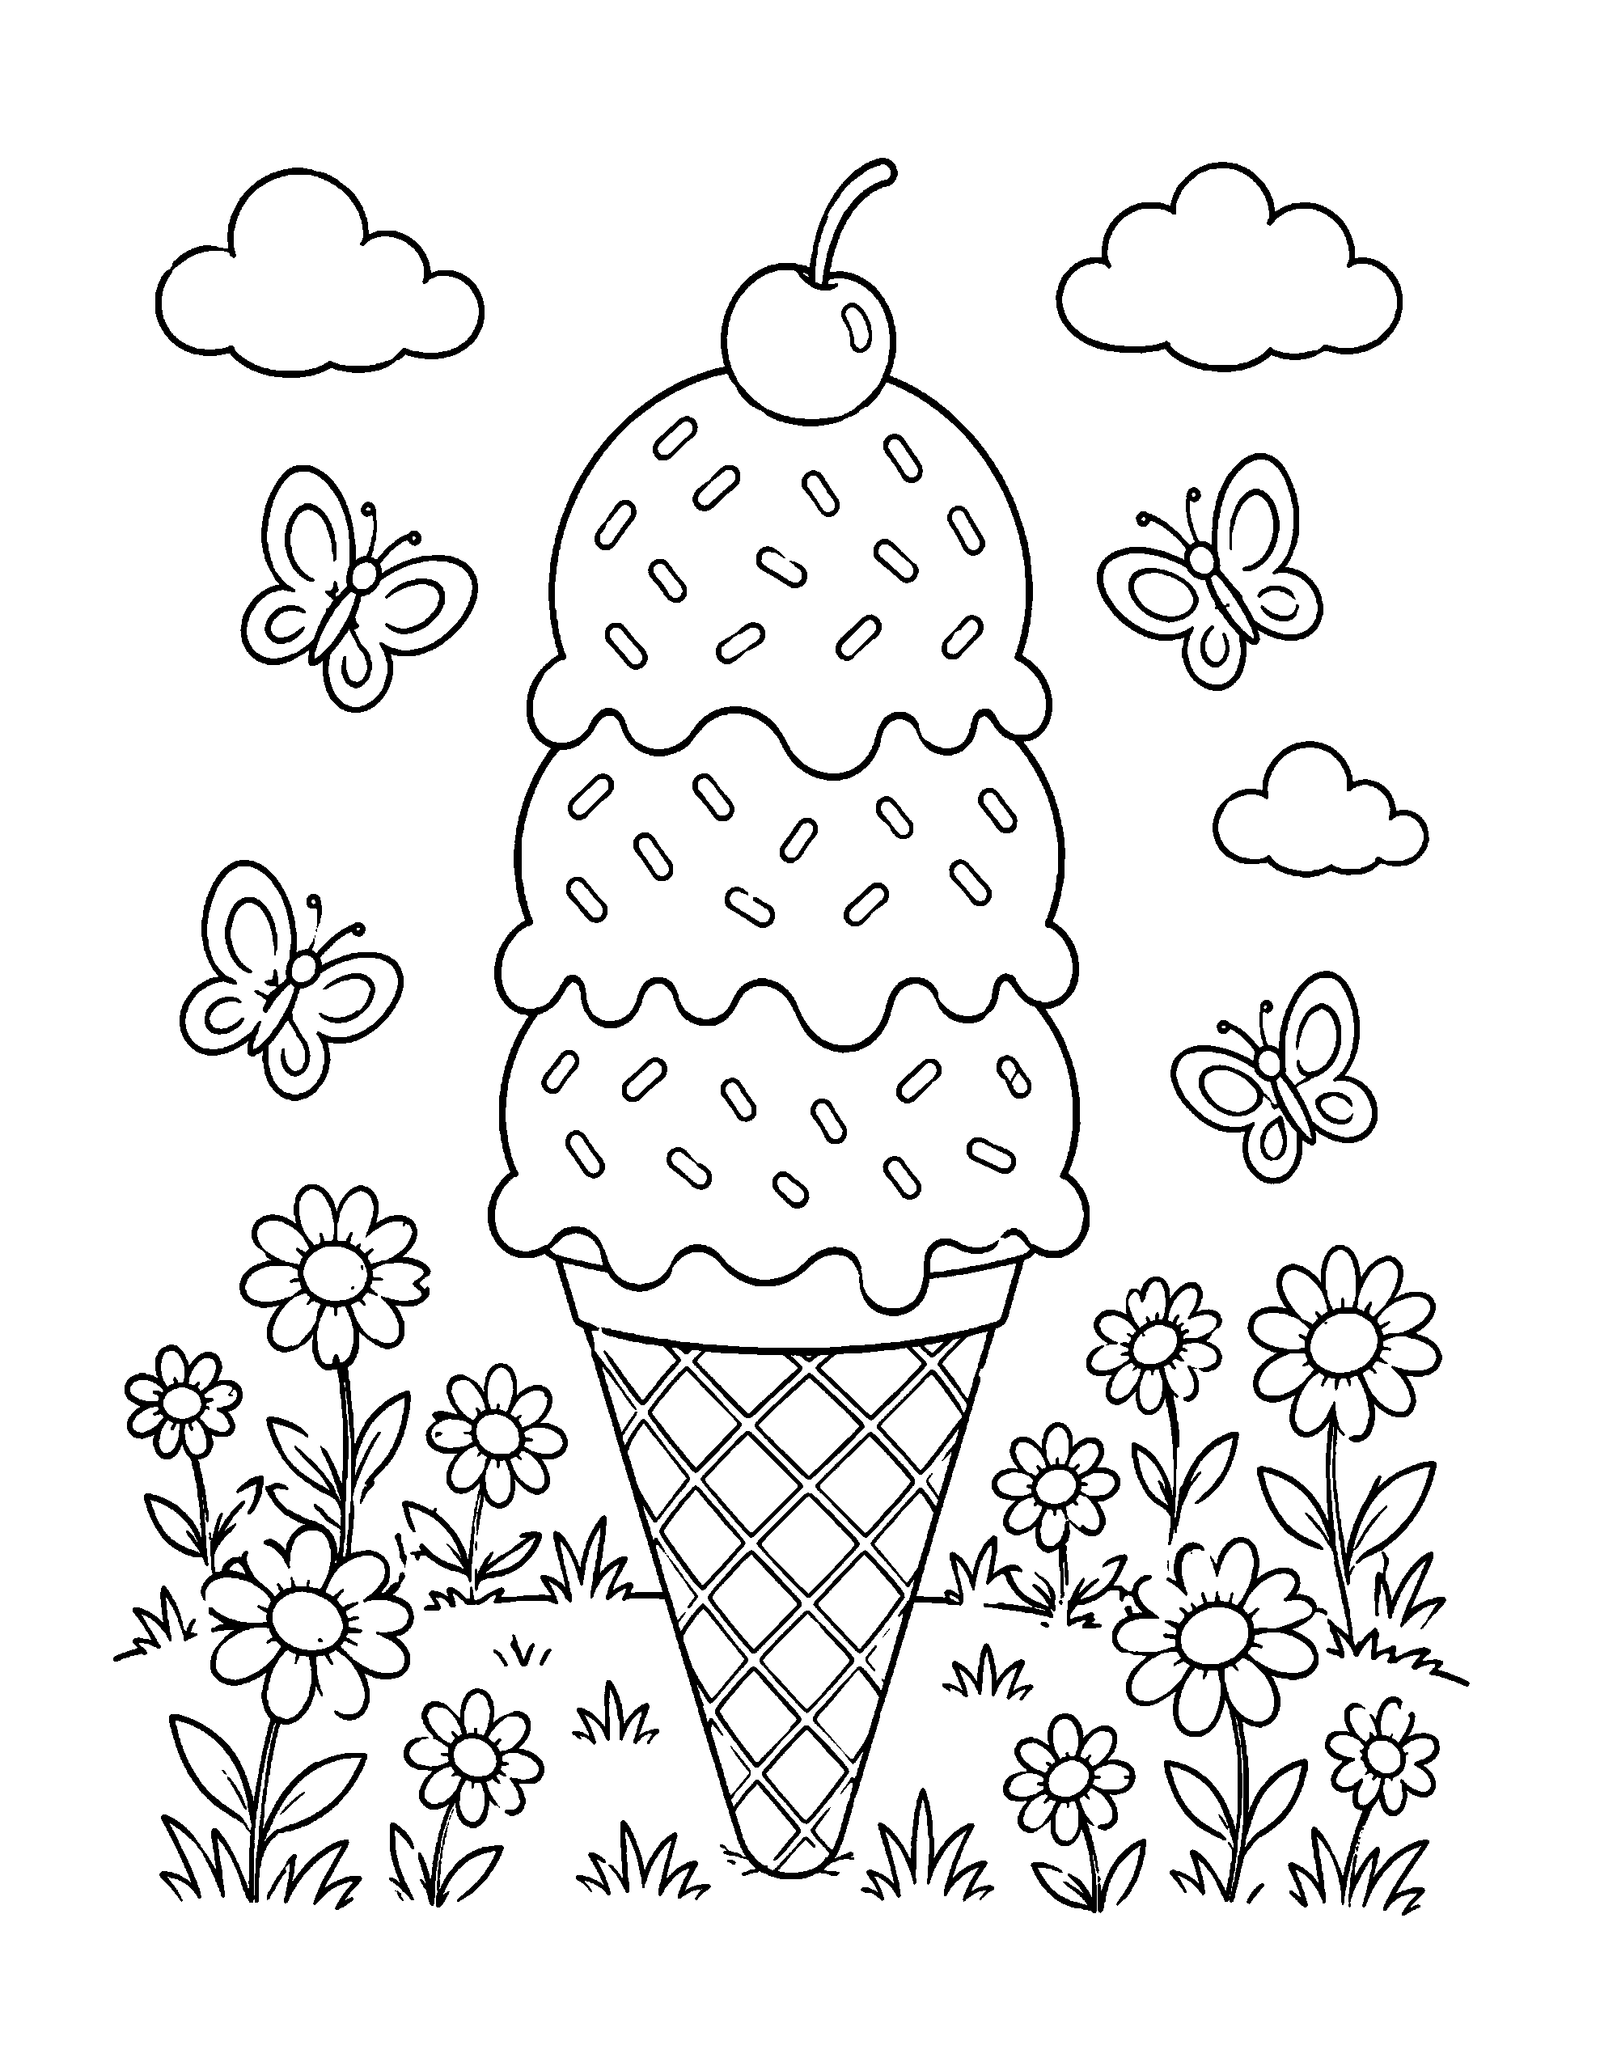
Download Meadow Ice Cream Cone
Three-Scoop Cone Beside A Striped Napkin
Within the ice cream coloring pages collection shows three-scoop cone beside a striped napkin. The composition has a clear focal subject, supporting objects, and enough open space for an original palette, background mood, and short story.
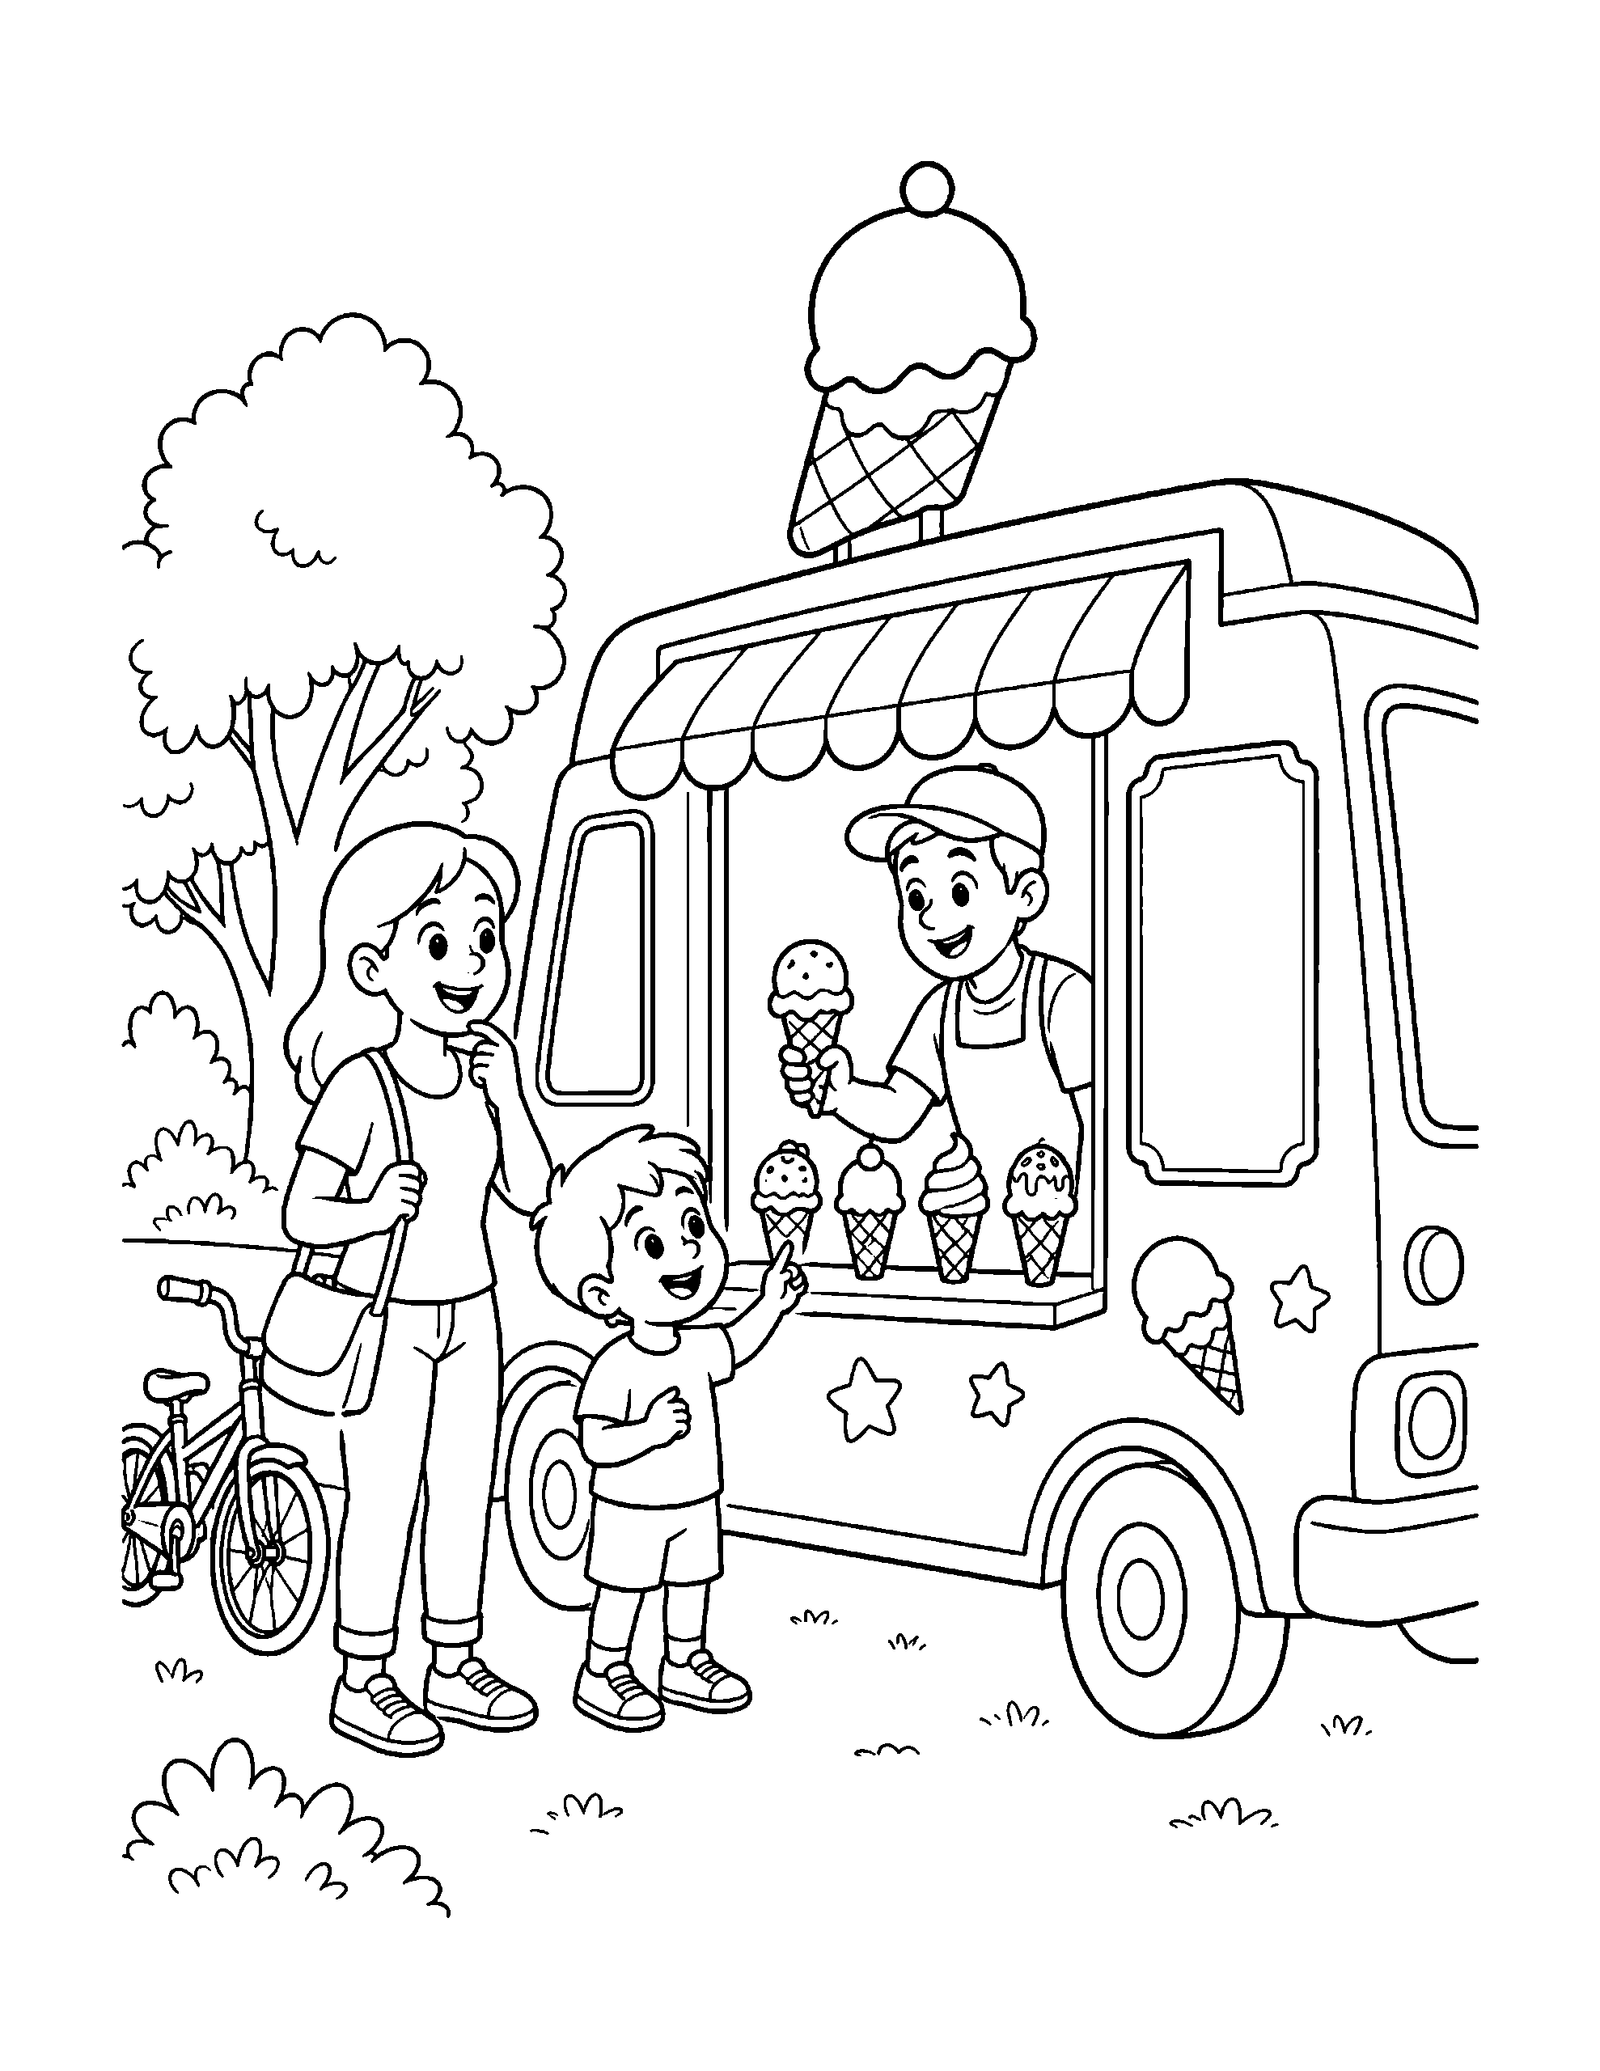
Download Ice Cream Truck Family
Banana Split With Fruit And Wafer Details
One choice in ice cream coloring pages collection shows banana split with fruit and wafer details. The composition has a clear focal subject, supporting objects, and enough open space for an original palette, background mood, and short story.
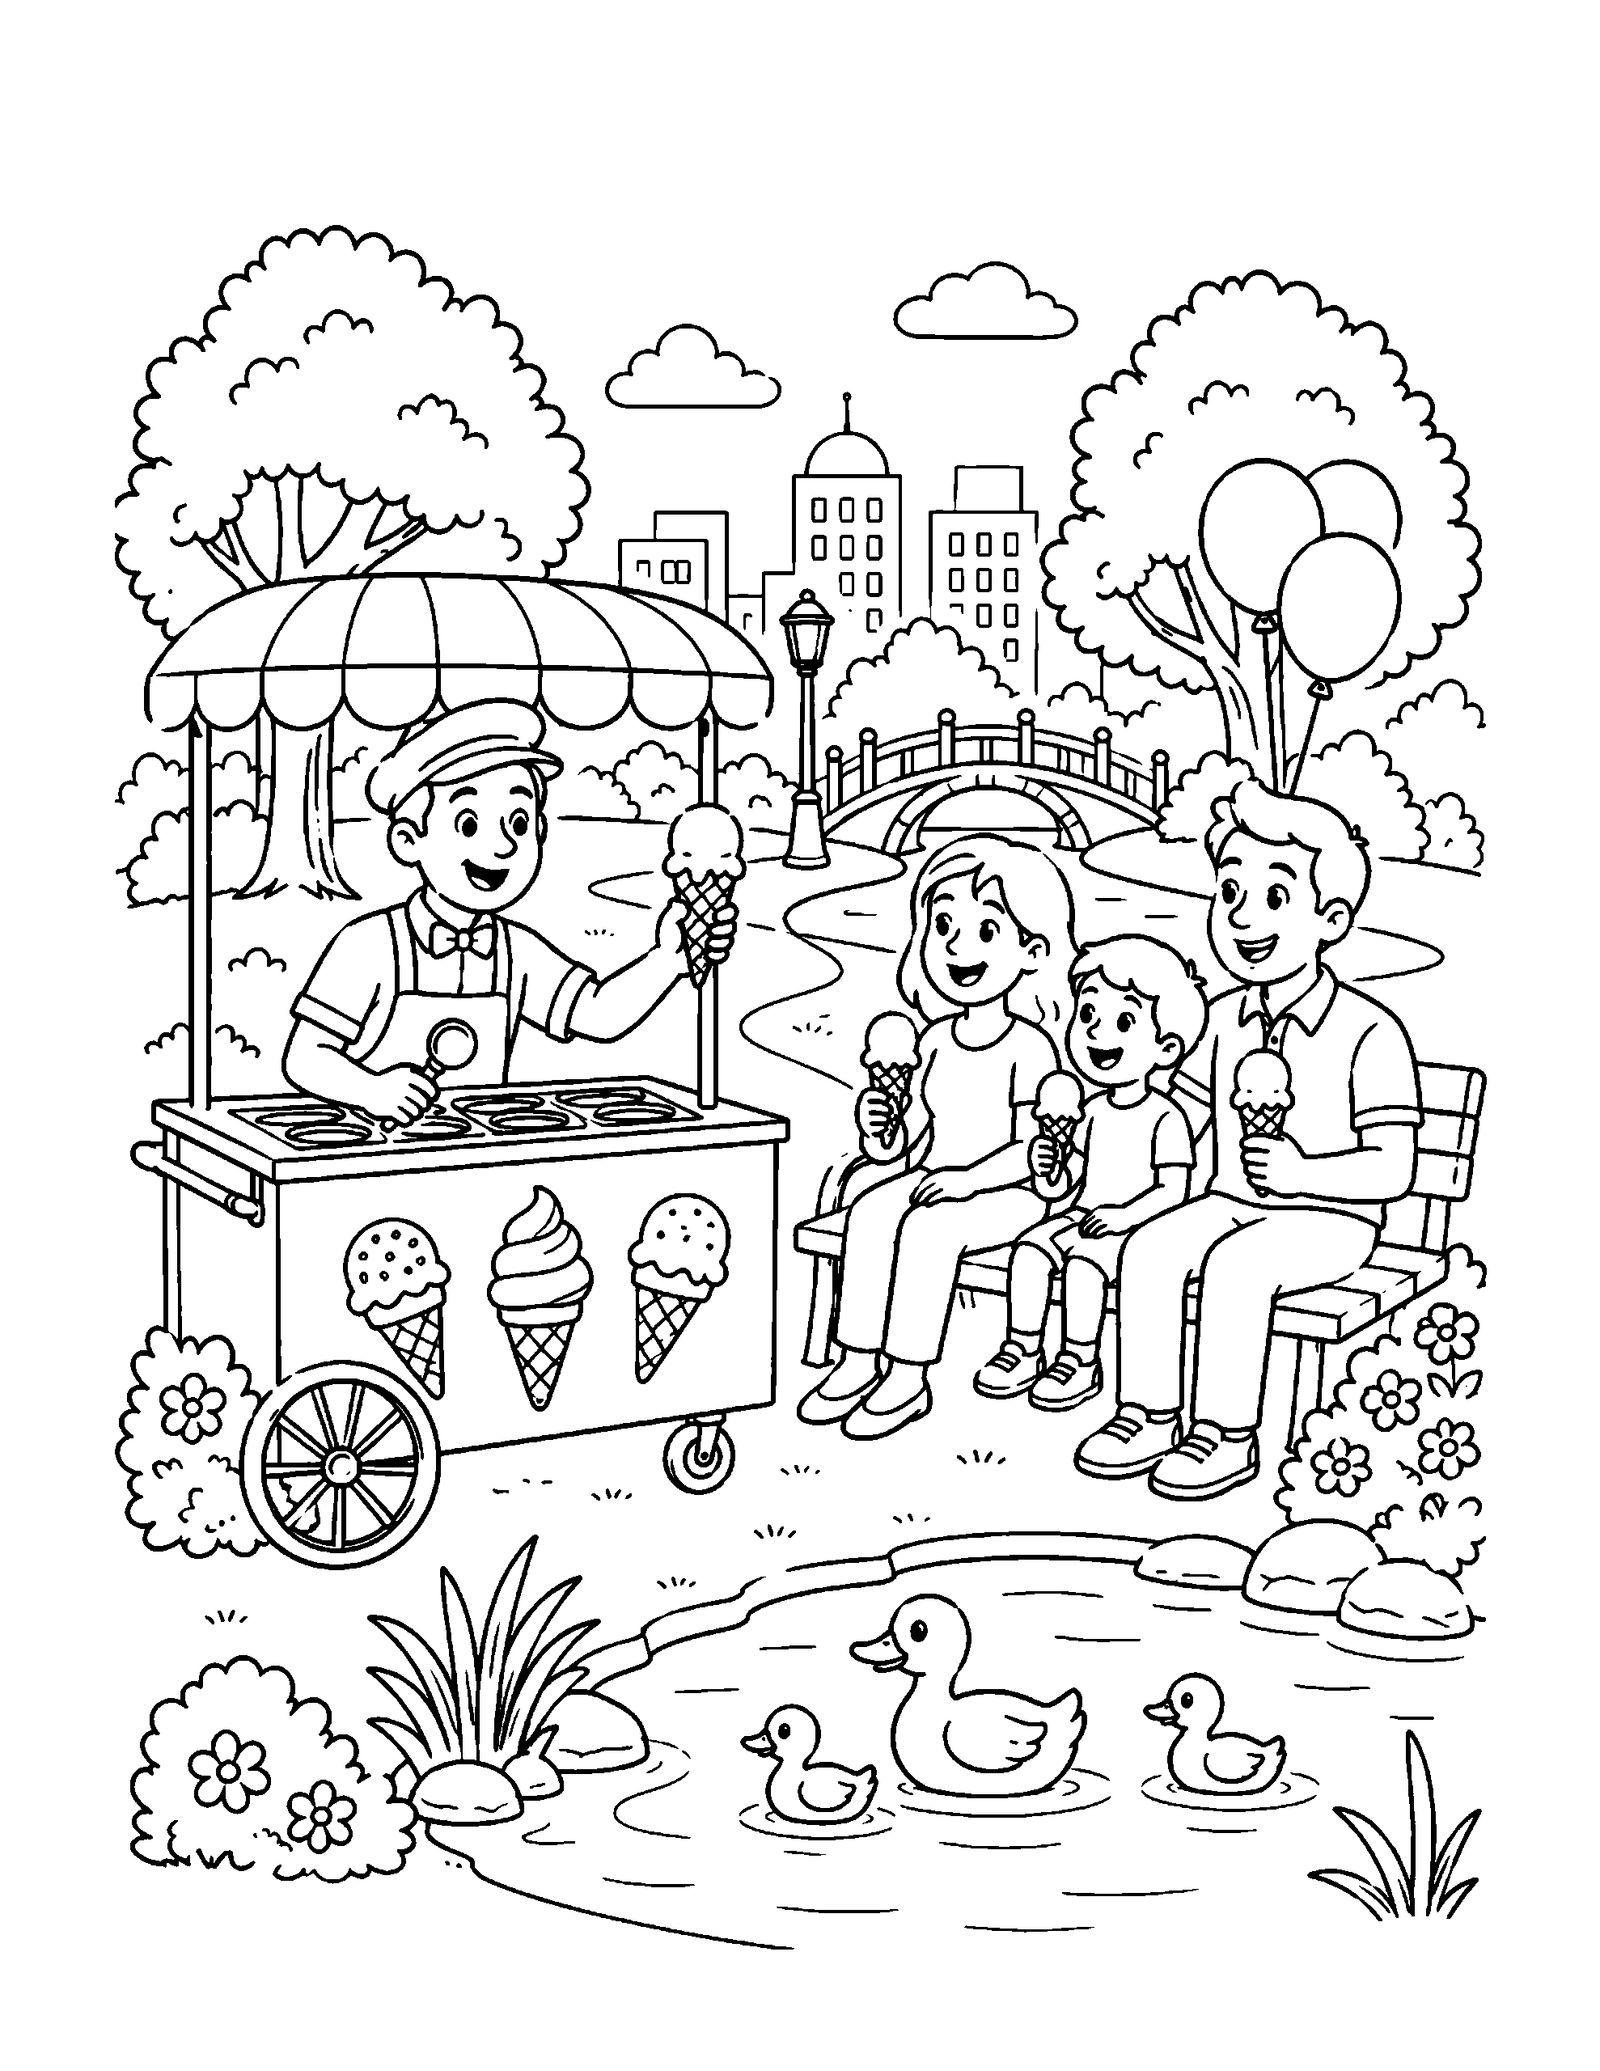
Ice Cream Truck Serving A Family At The Park
This scene in ice cream coloring pages collection shows ice cream truck serving a family at the park. The composition has a clear focal subject, supporting objects, and enough open space for an original palette, background mood, and short story.
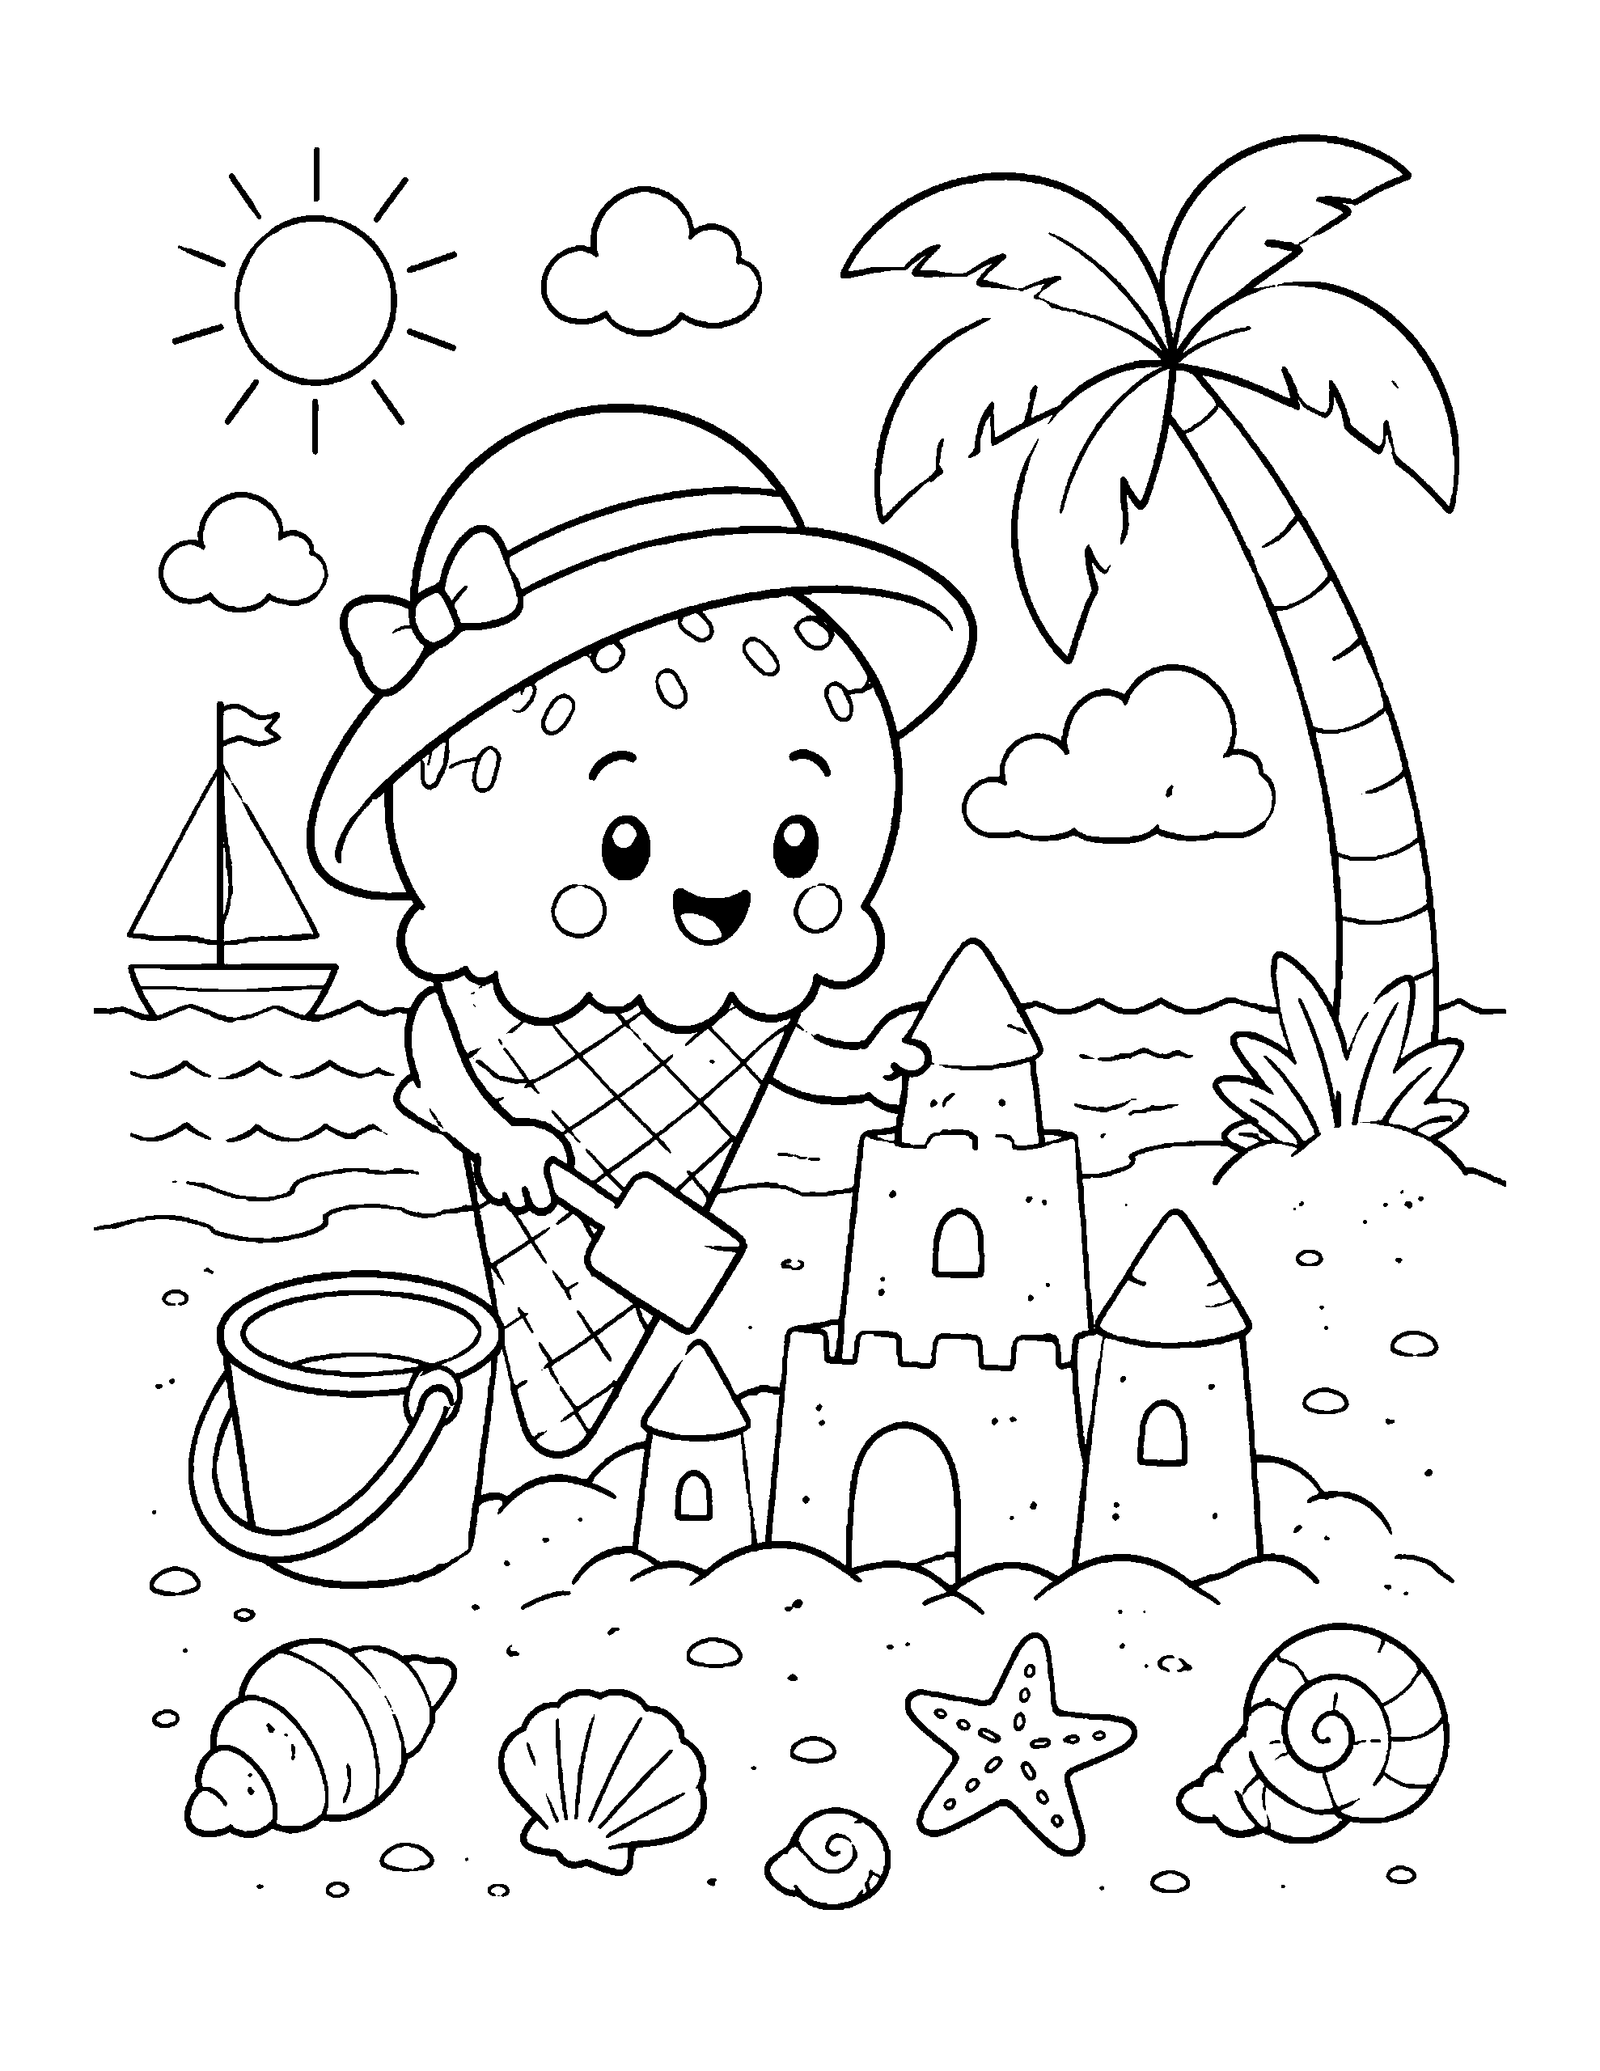
Sundae Glass Topped With Berries And Sauce
The next of the ice cream coloring pages collection shows sundae glass topped with berries and sauce. The composition has a clear focal subject, supporting objects, and enough open space for an original palette, background mood, and short story.
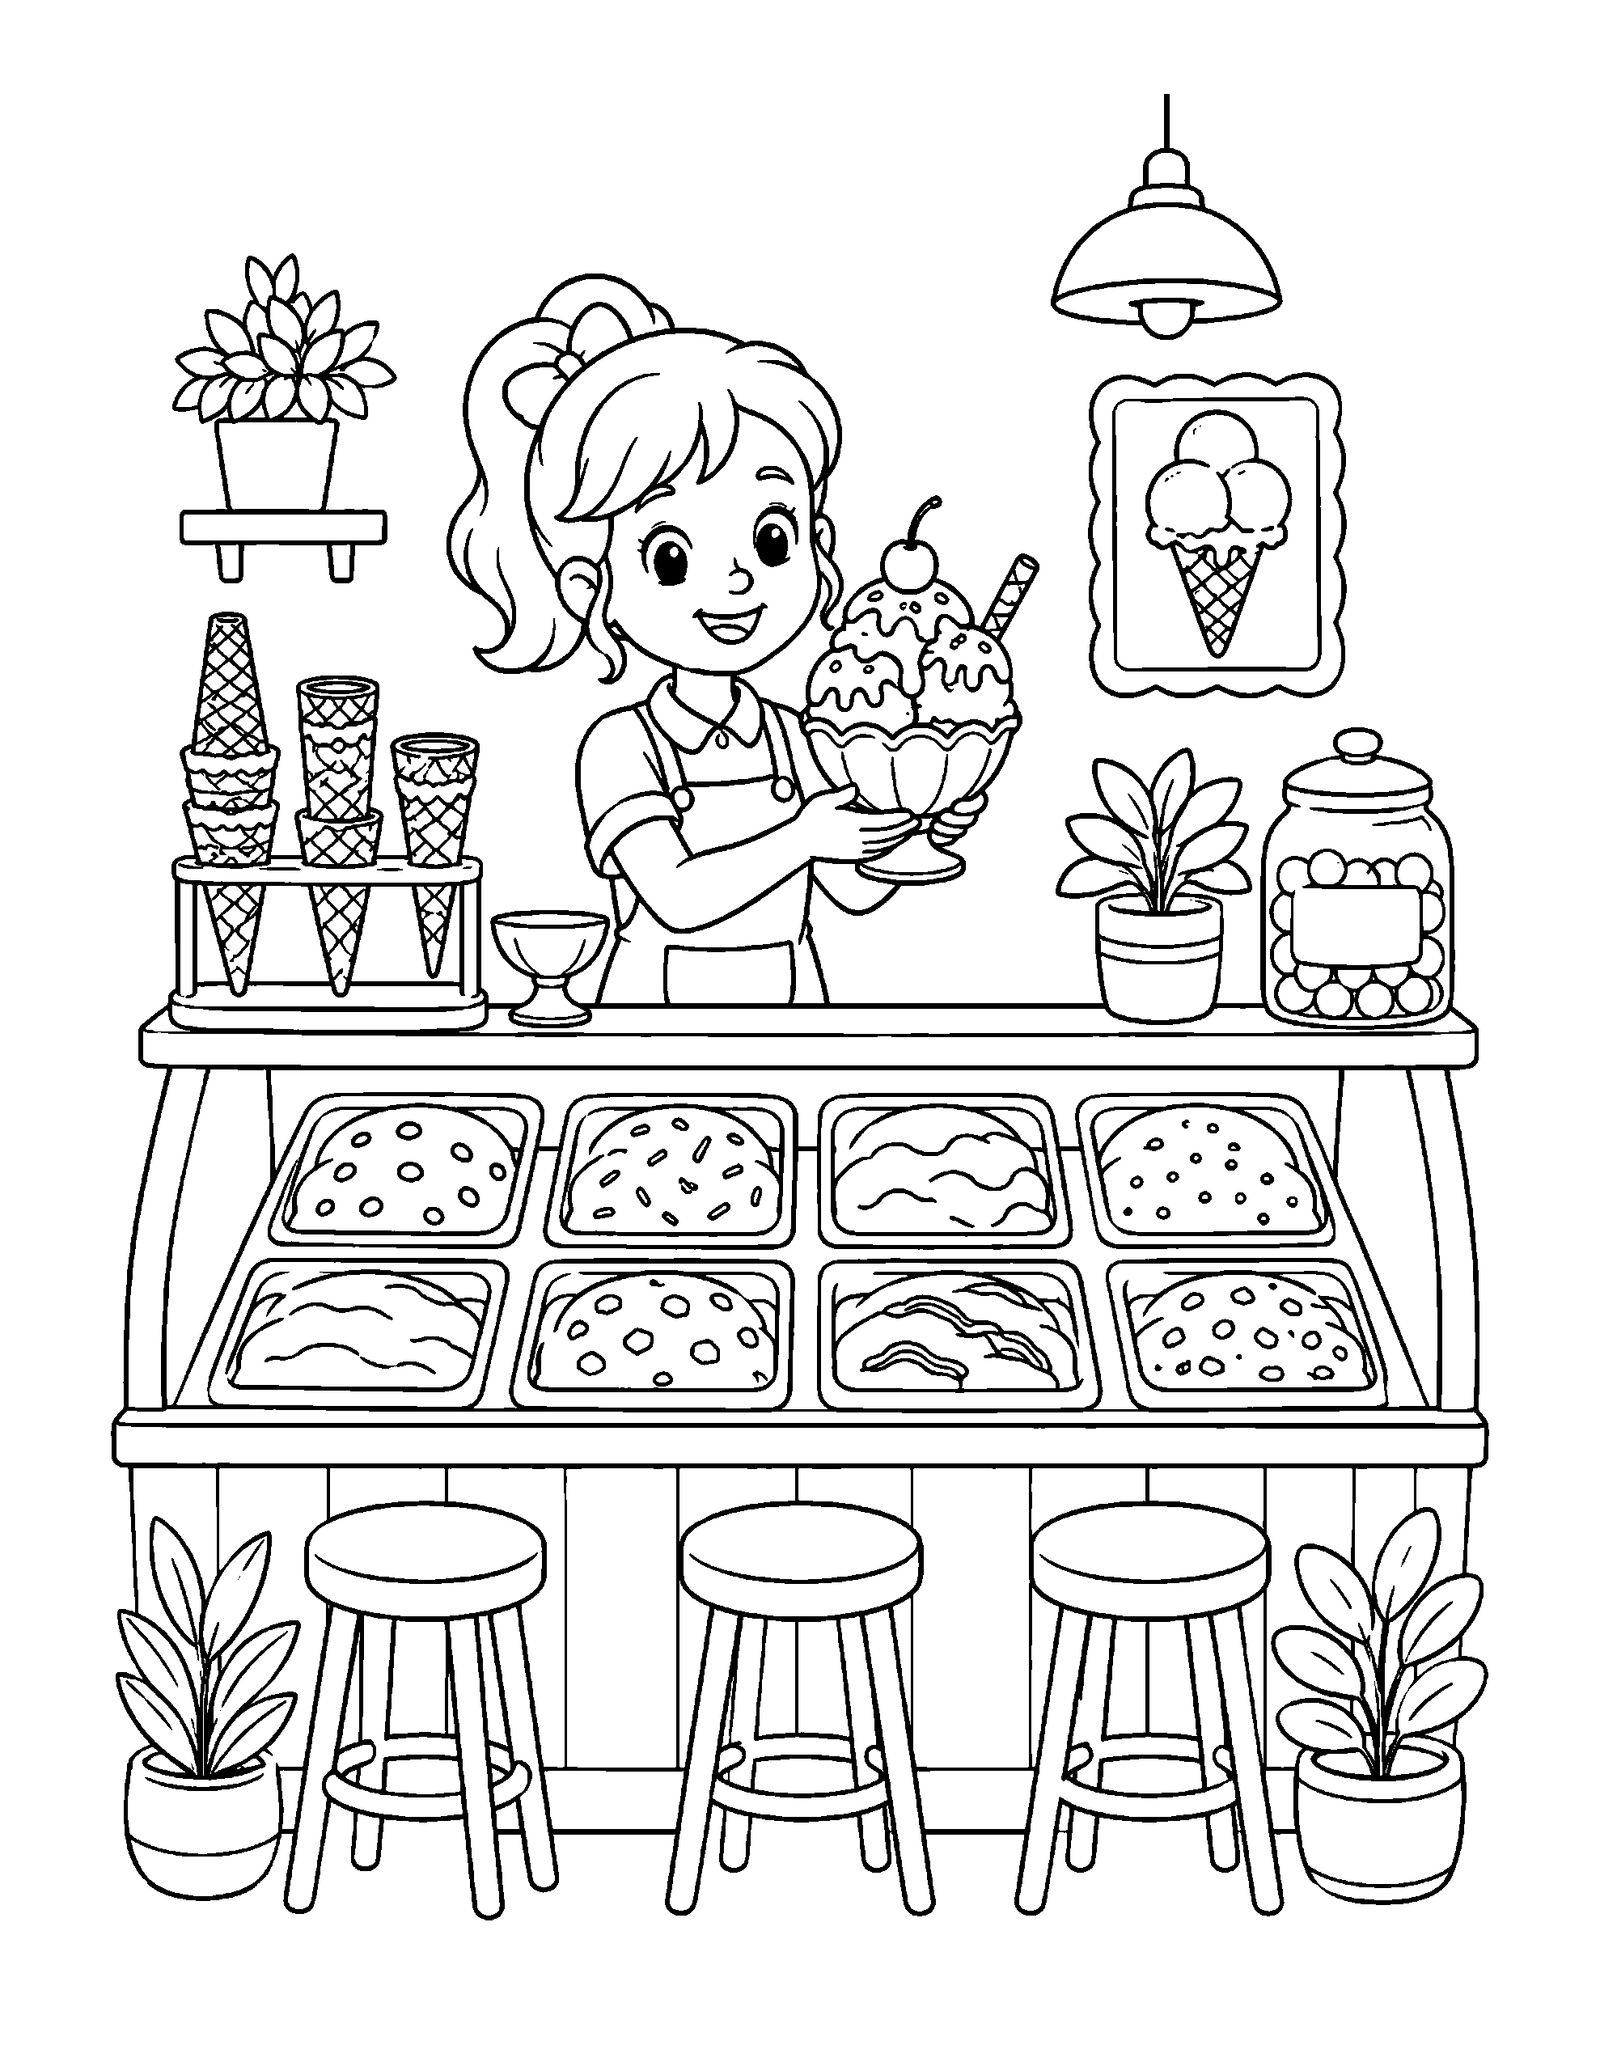
Download Ice Cream Shop Counter
Popsicle Friends Arranged On A Summer Table
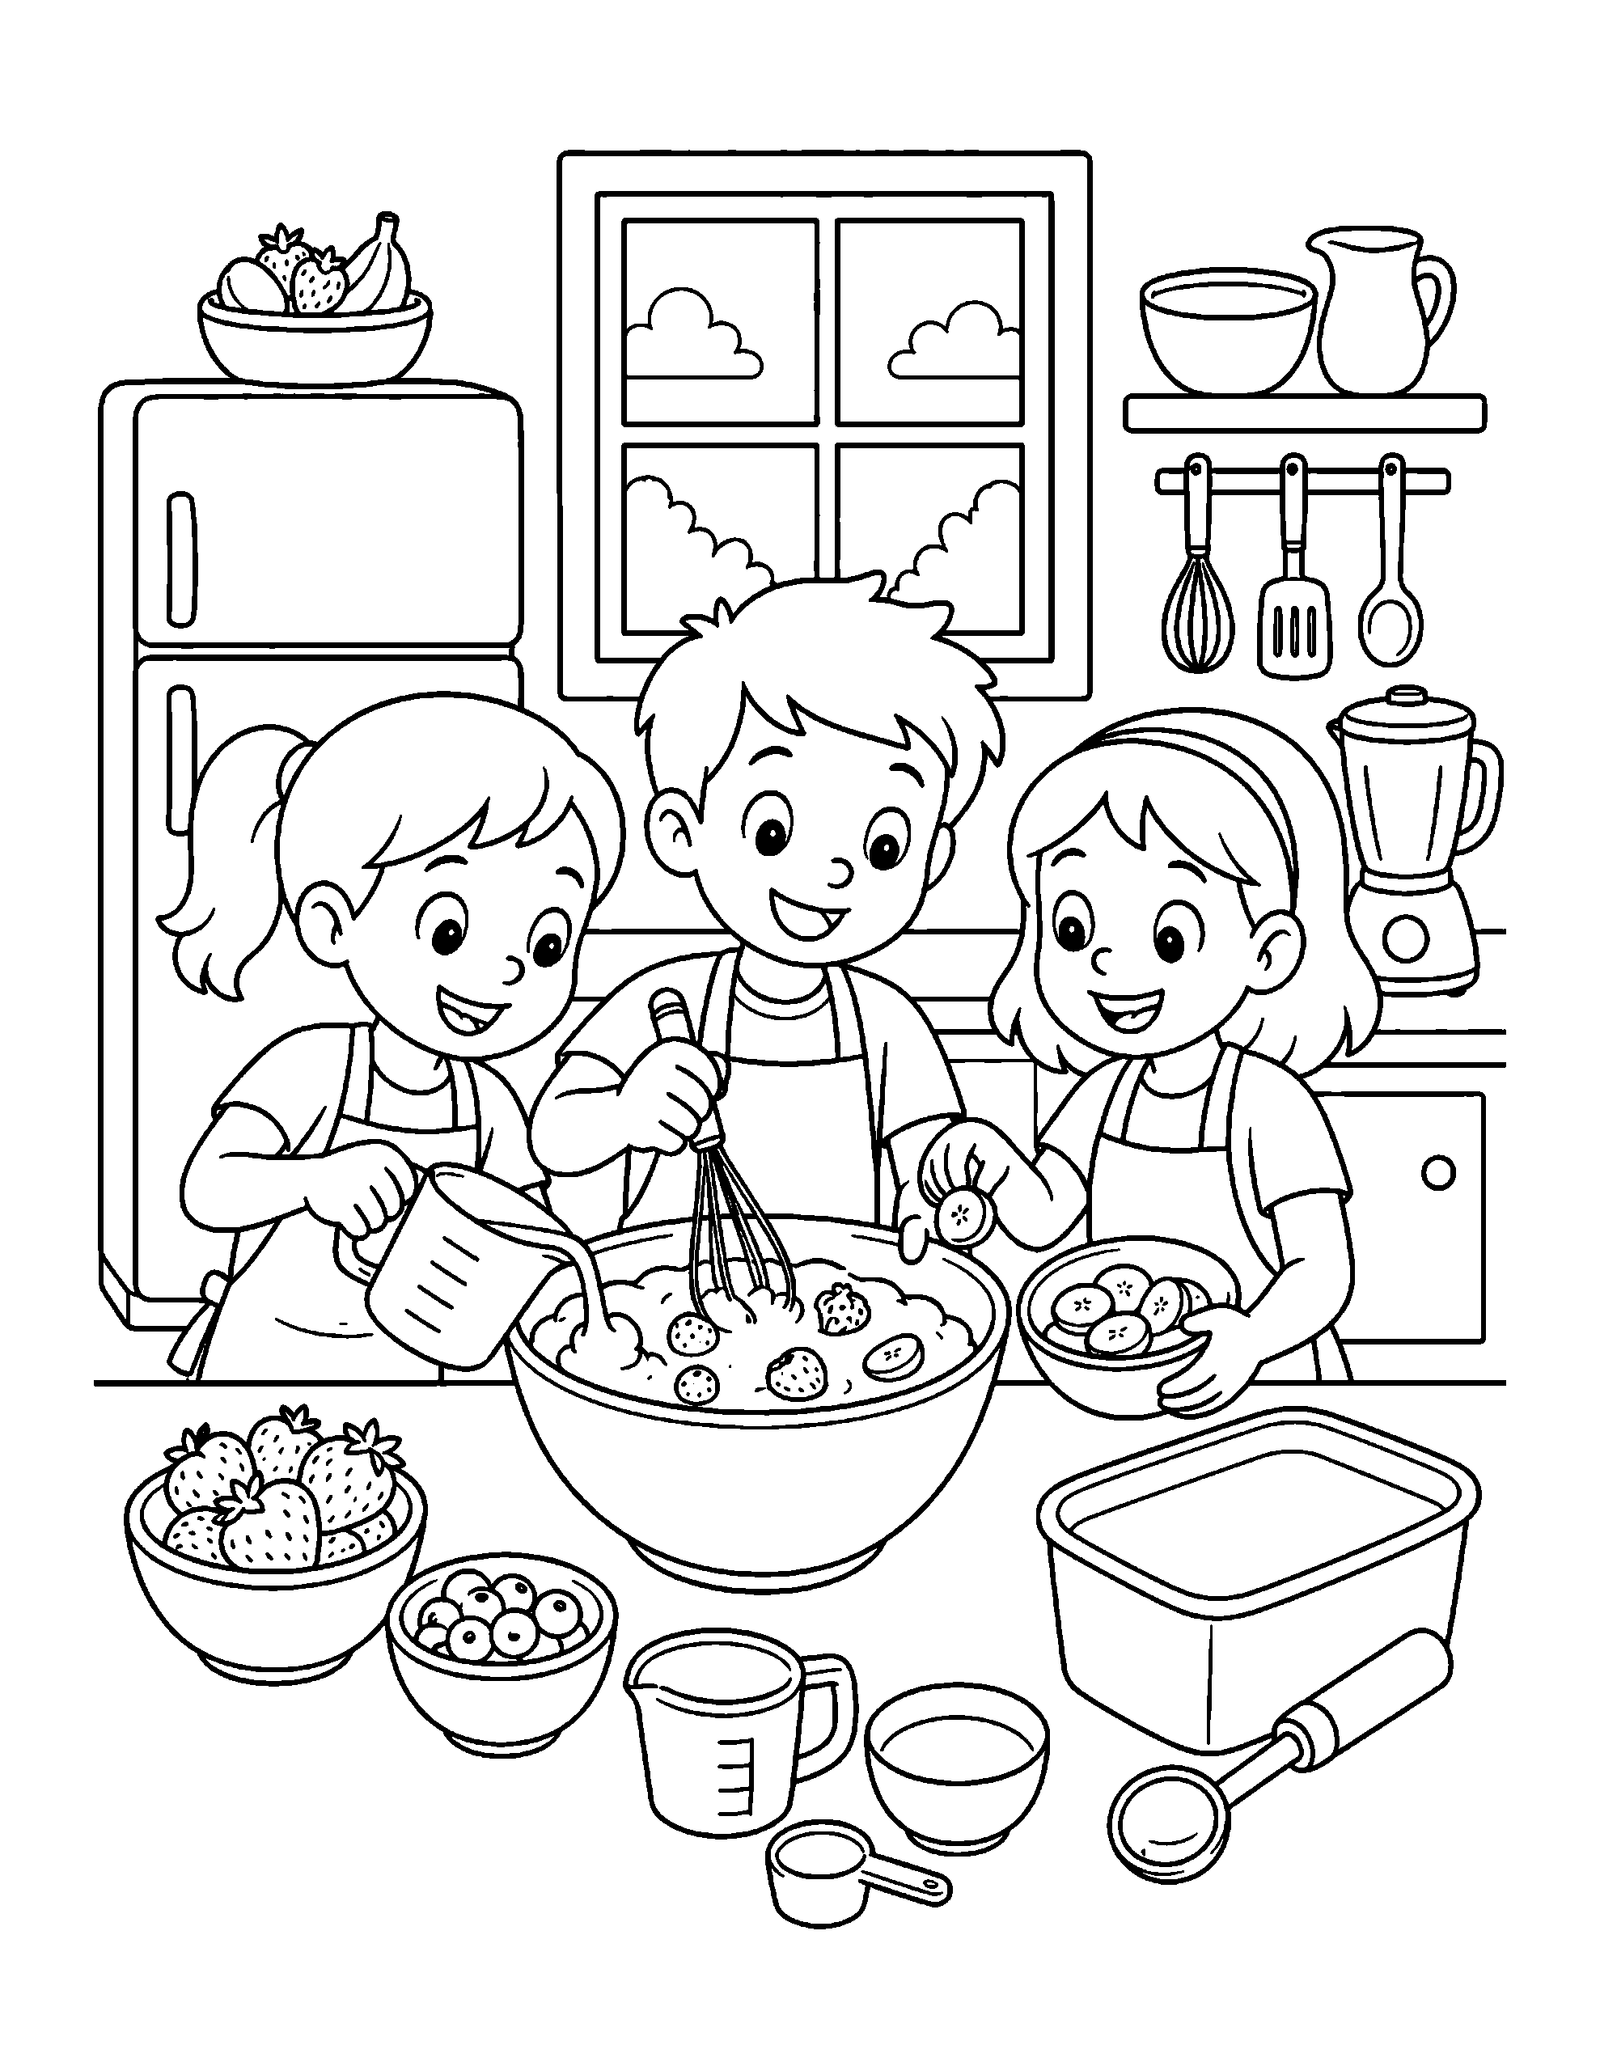
This page from ice cream coloring pages collection shows popsicle friends arranged on a summer table. The composition has a clear focal subject, supporting objects, and enough open space for an original palette, background mood, and short story.
Small Ice Cream Shop Counter With A Menu Board
Within the ice cream coloring pages collection shows small ice cream shop counter with a menu board. The composition has a clear focal subject, supporting objects, and enough open space for an original palette, background mood, and short story.
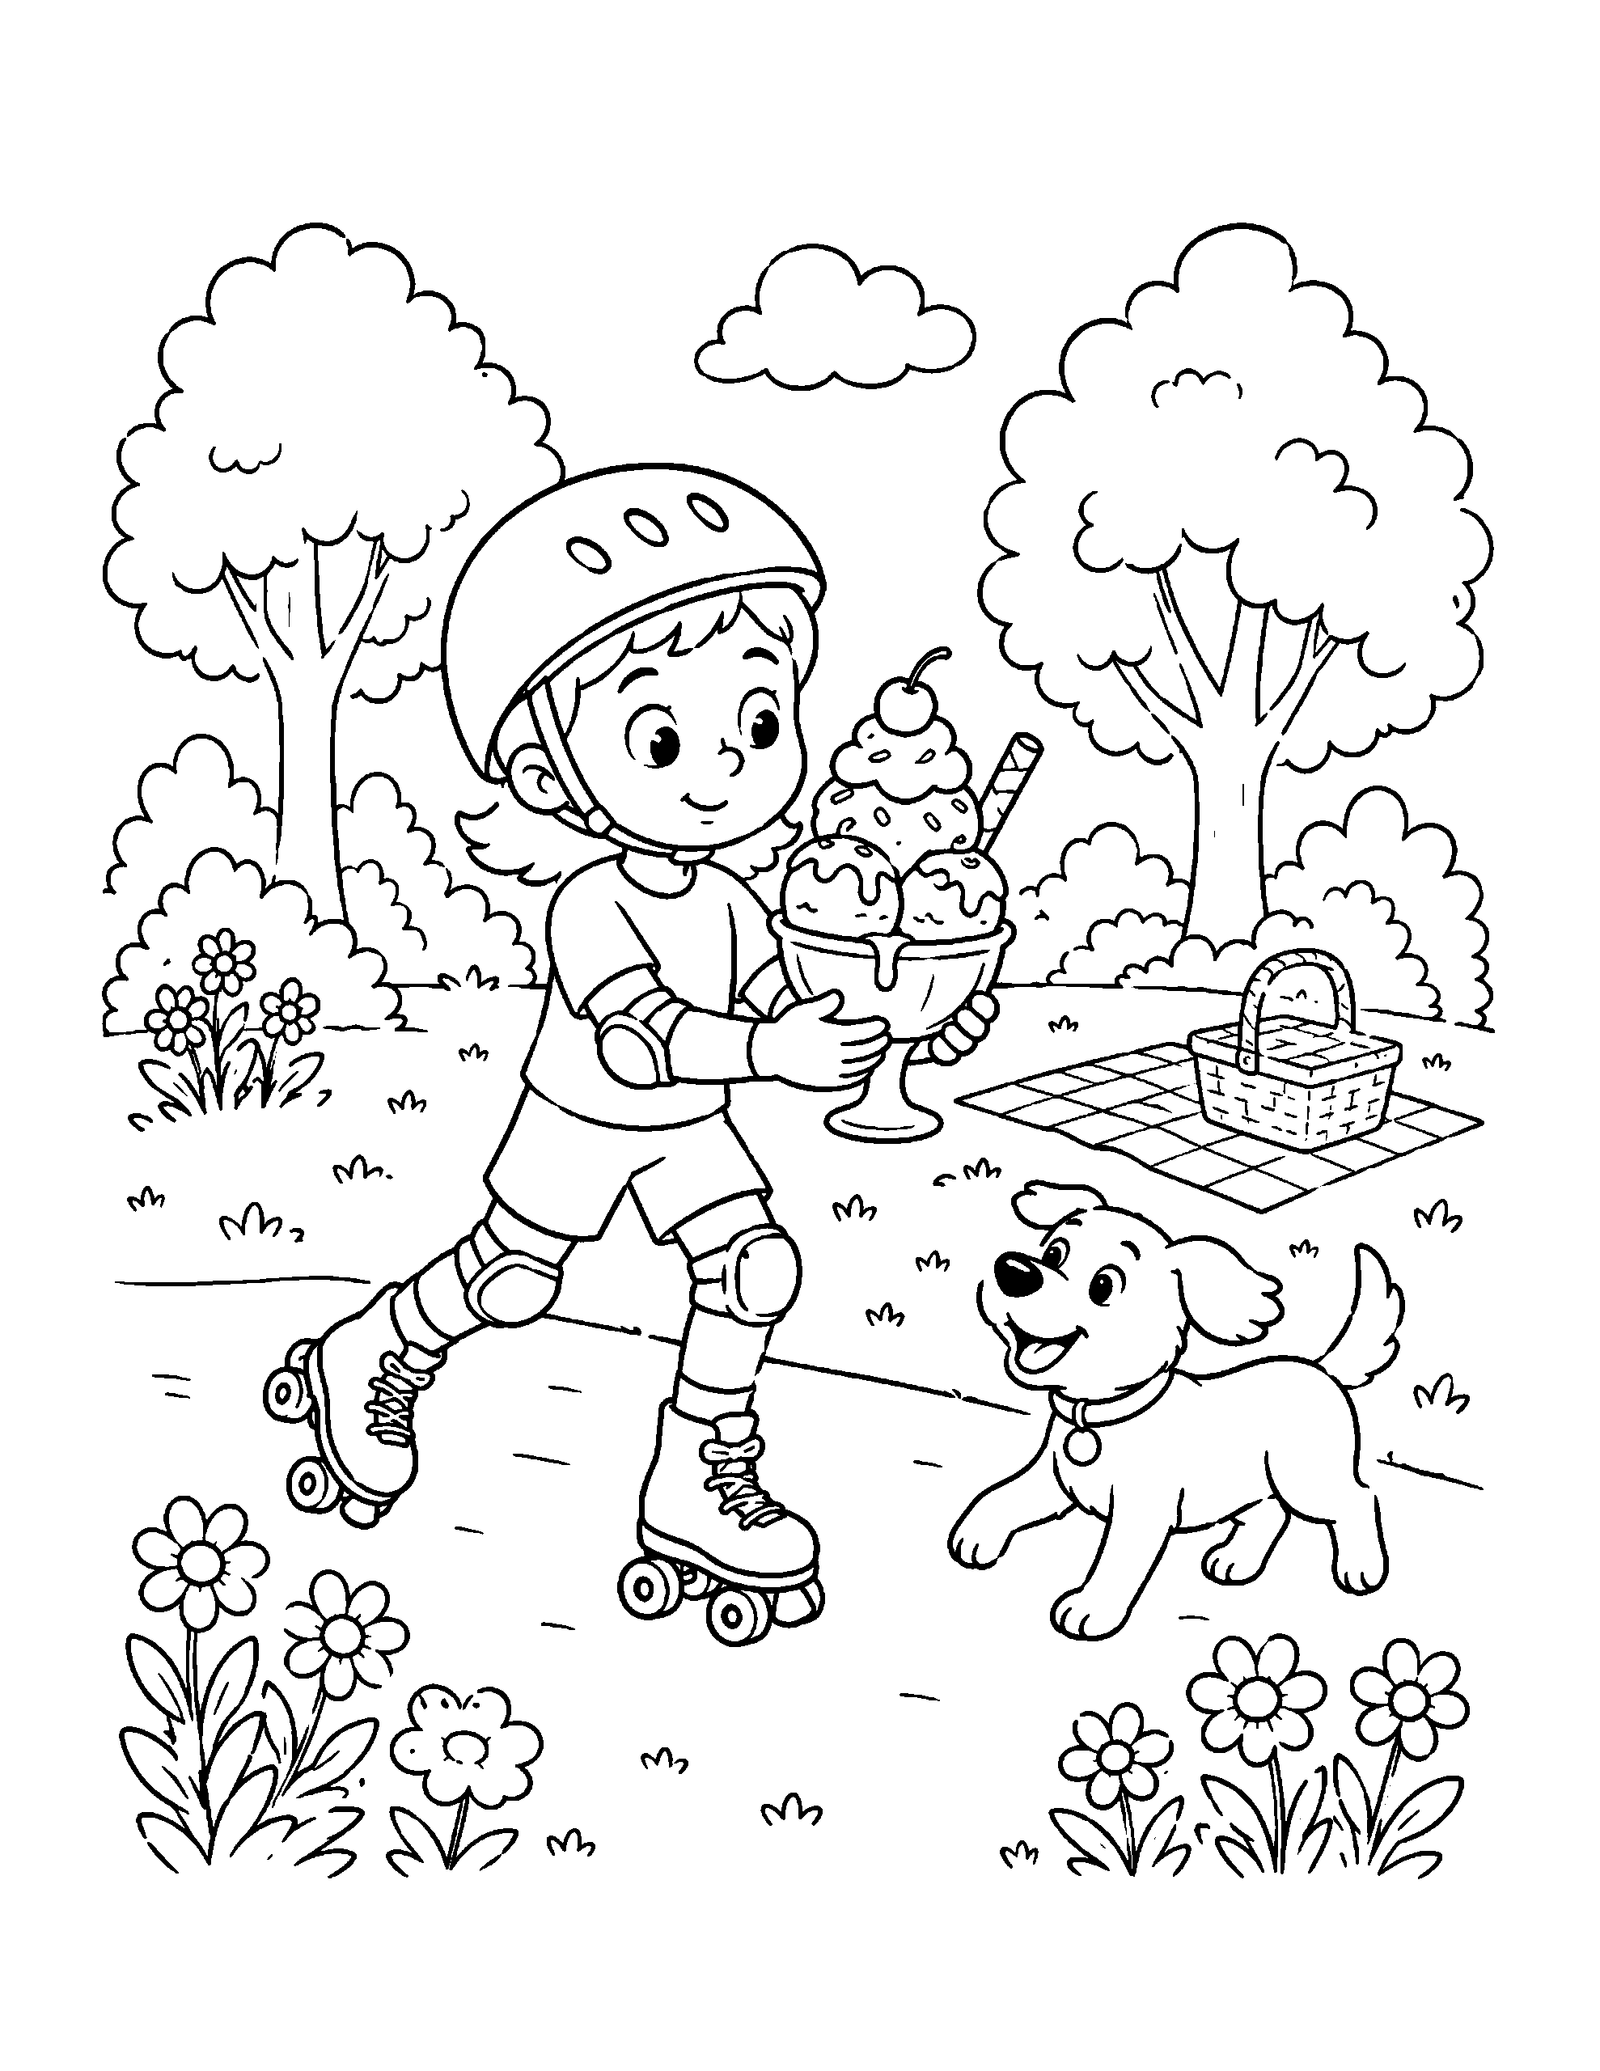
Download Roller Skating Sundae
Waffle Bowl Filled With Swirled Frozen Dessert
One choice in ice cream coloring pages collection shows waffle bowl filled with swirled frozen dessert. The composition has a clear focal subject, supporting objects, and enough open space for an original palette, background mood, and short story.
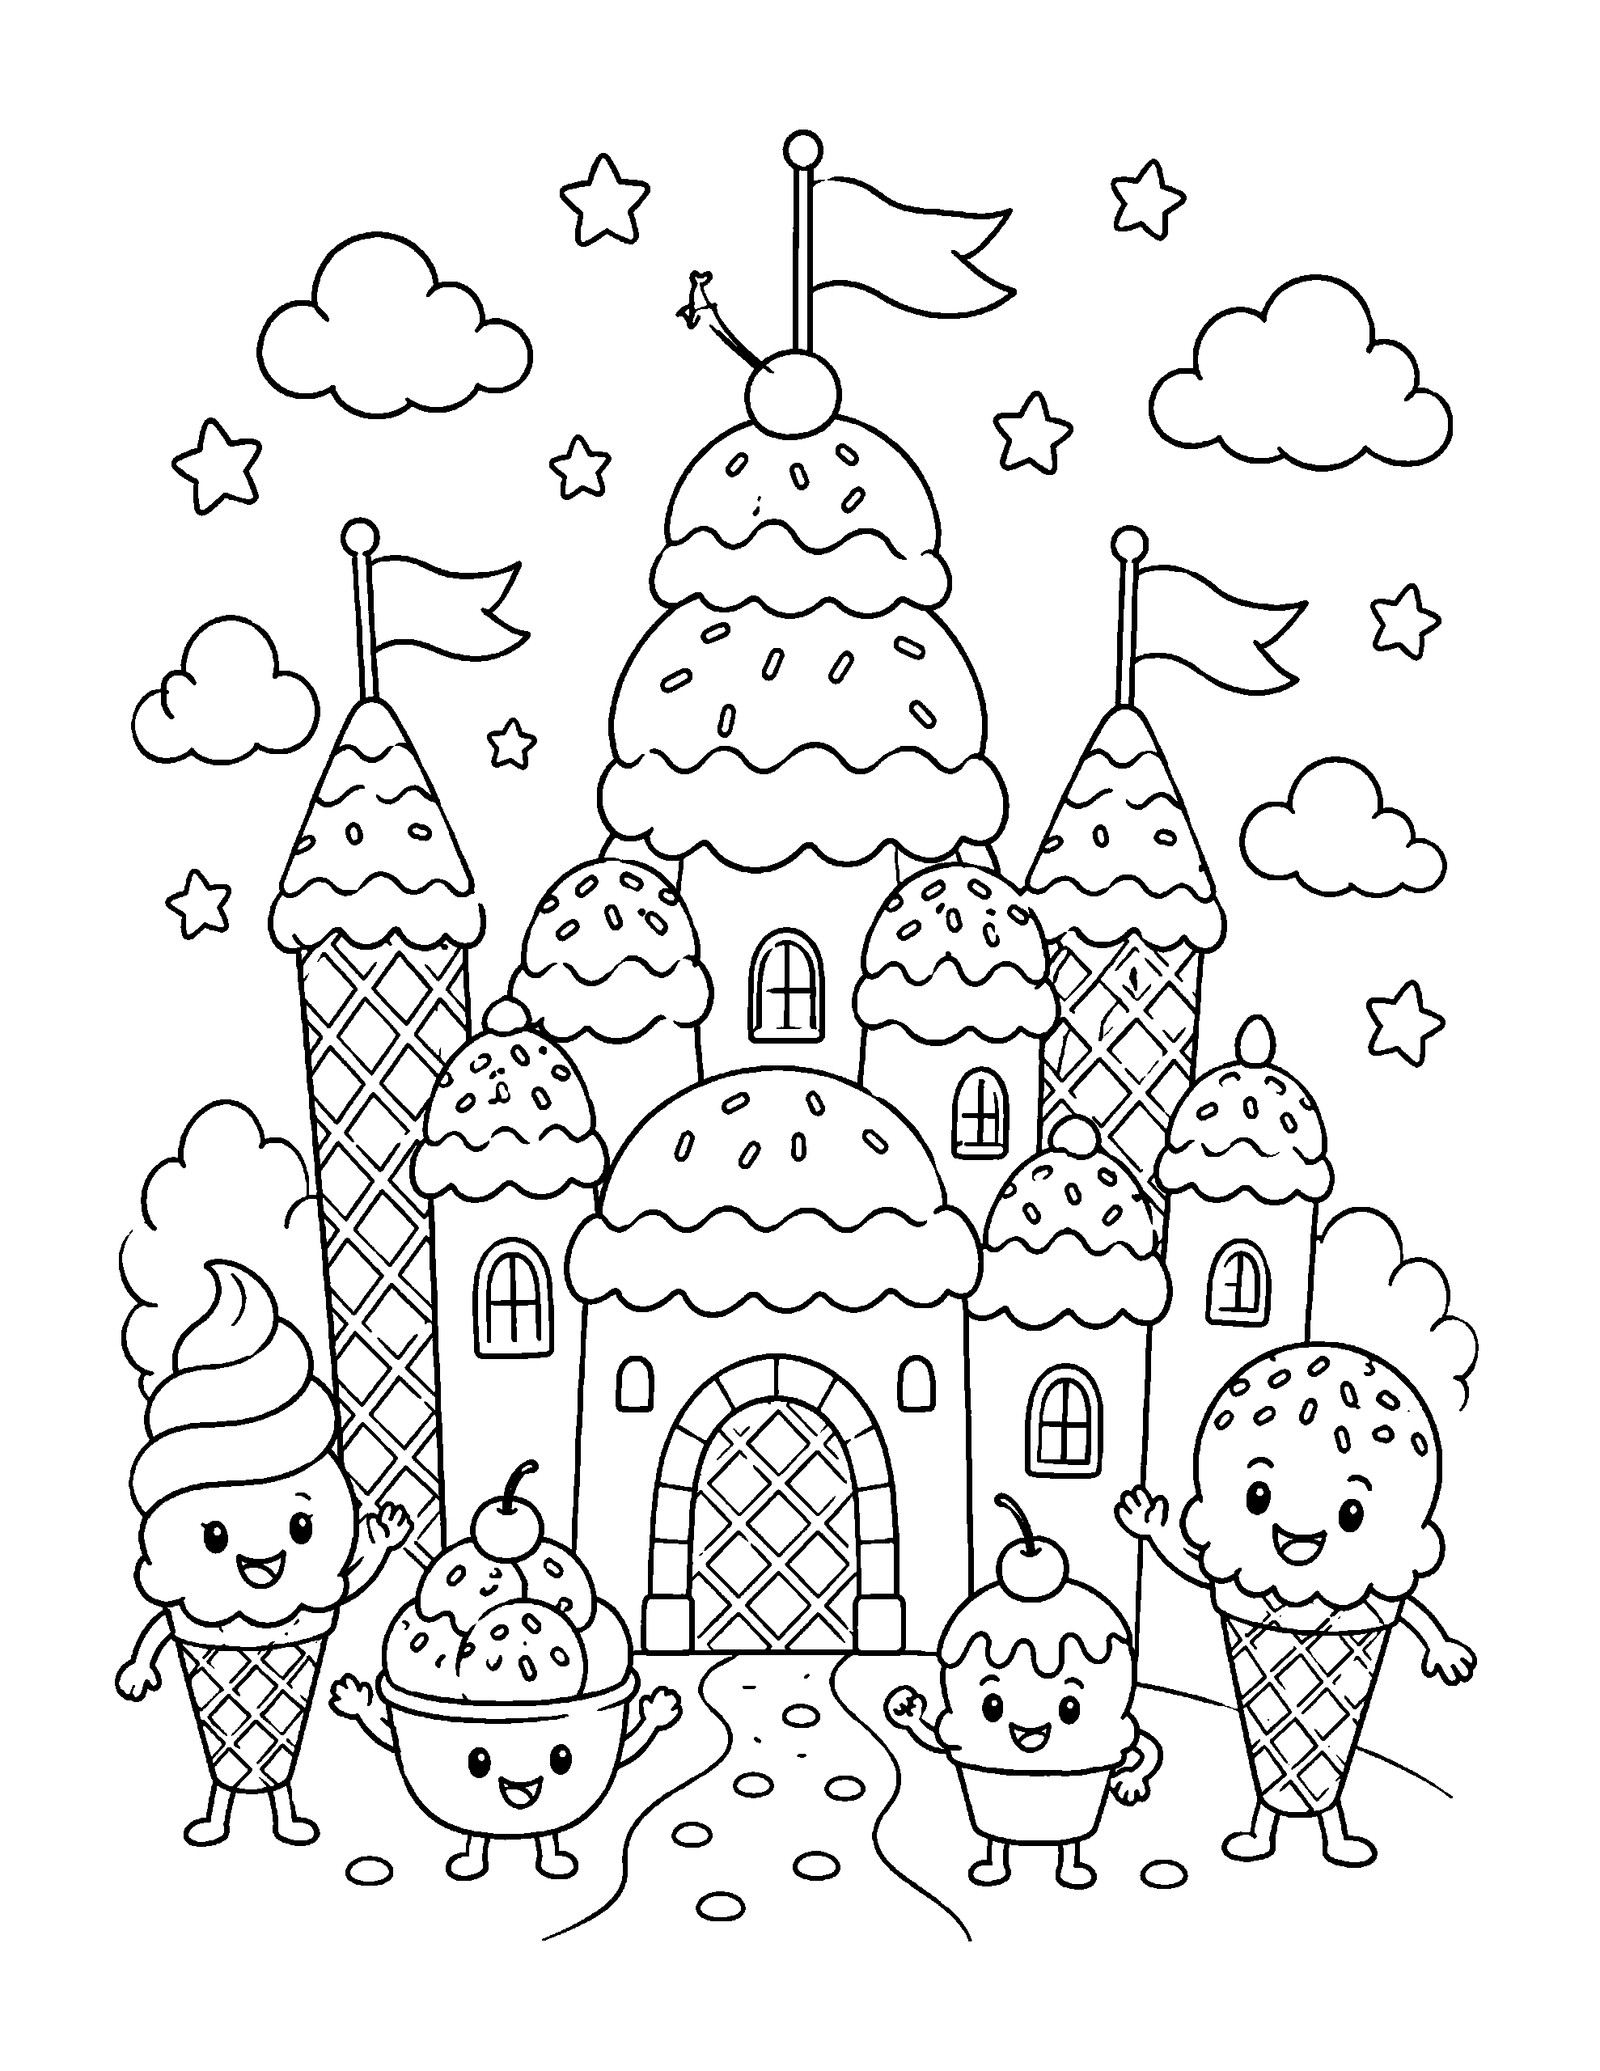
Birthday Ice Cream Bar With Bowls And Toppings
This scene in ice cream coloring pages collection shows birthday ice cream bar with bowls and toppings. The composition has a clear focal subject, supporting objects, and enough open space for an original palette, background mood, and short story.
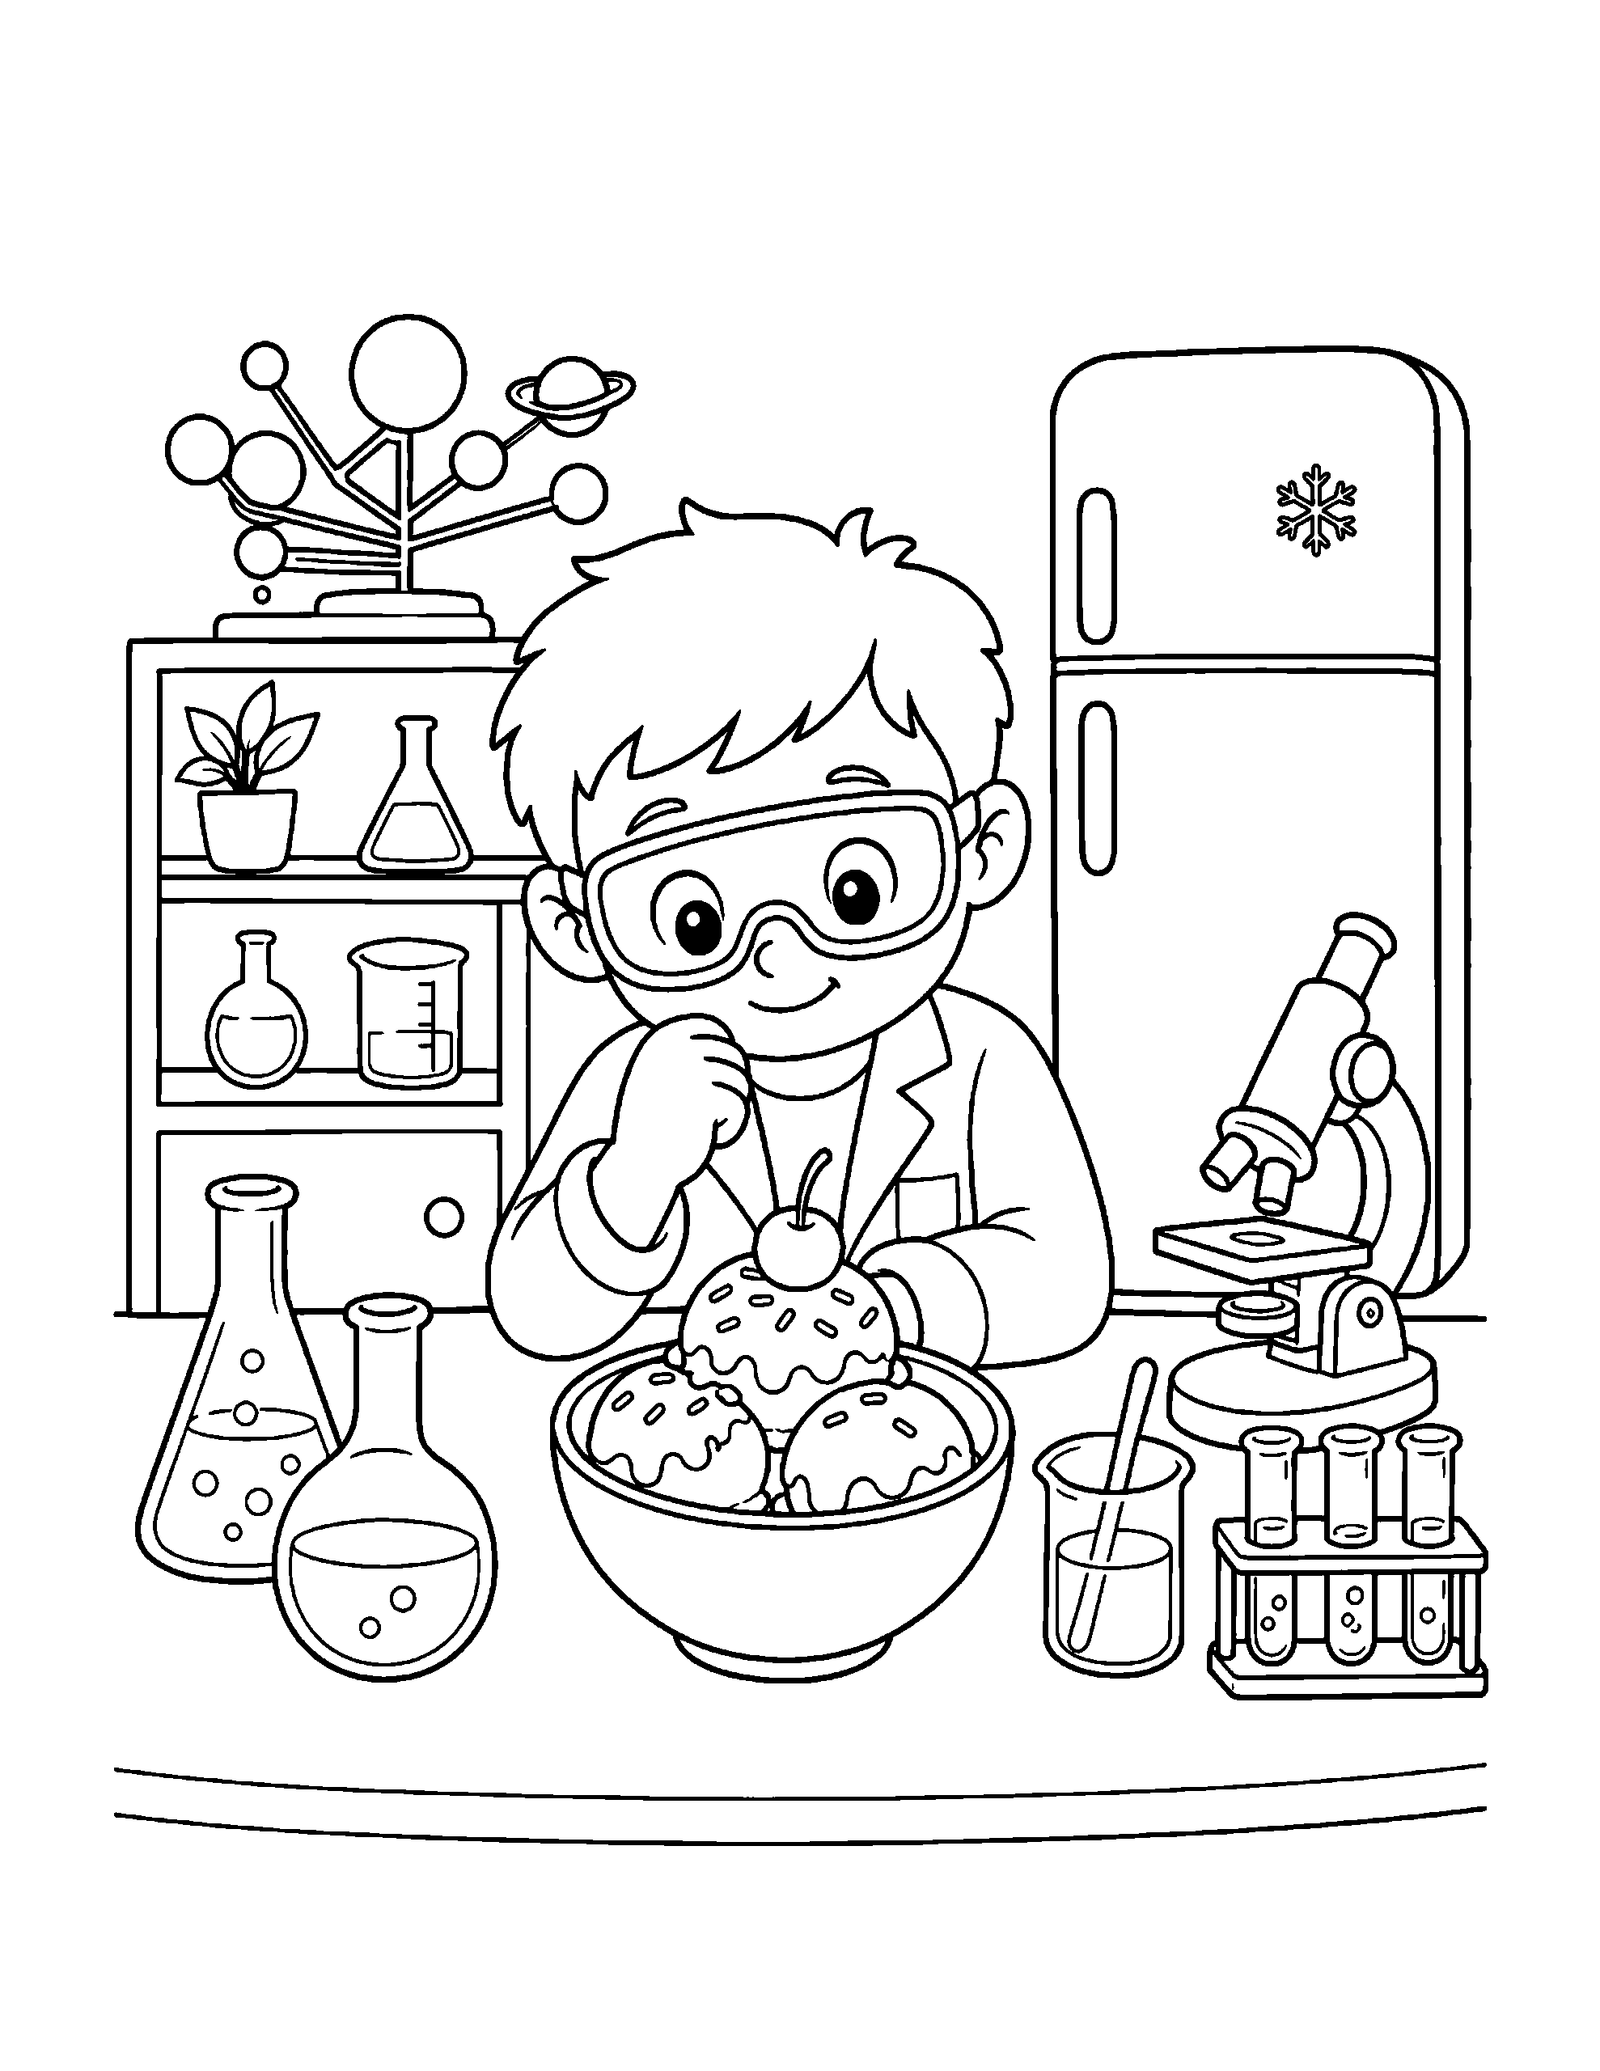
Download Ice Cream Science Lab
Picnic Cooler Holding Frozen Treats And Fruit
The next of the ice cream coloring pages collection shows picnic cooler holding frozen treats and fruit. The composition has a clear focal subject, supporting objects, and enough open space for an original palette, background mood, and short story.
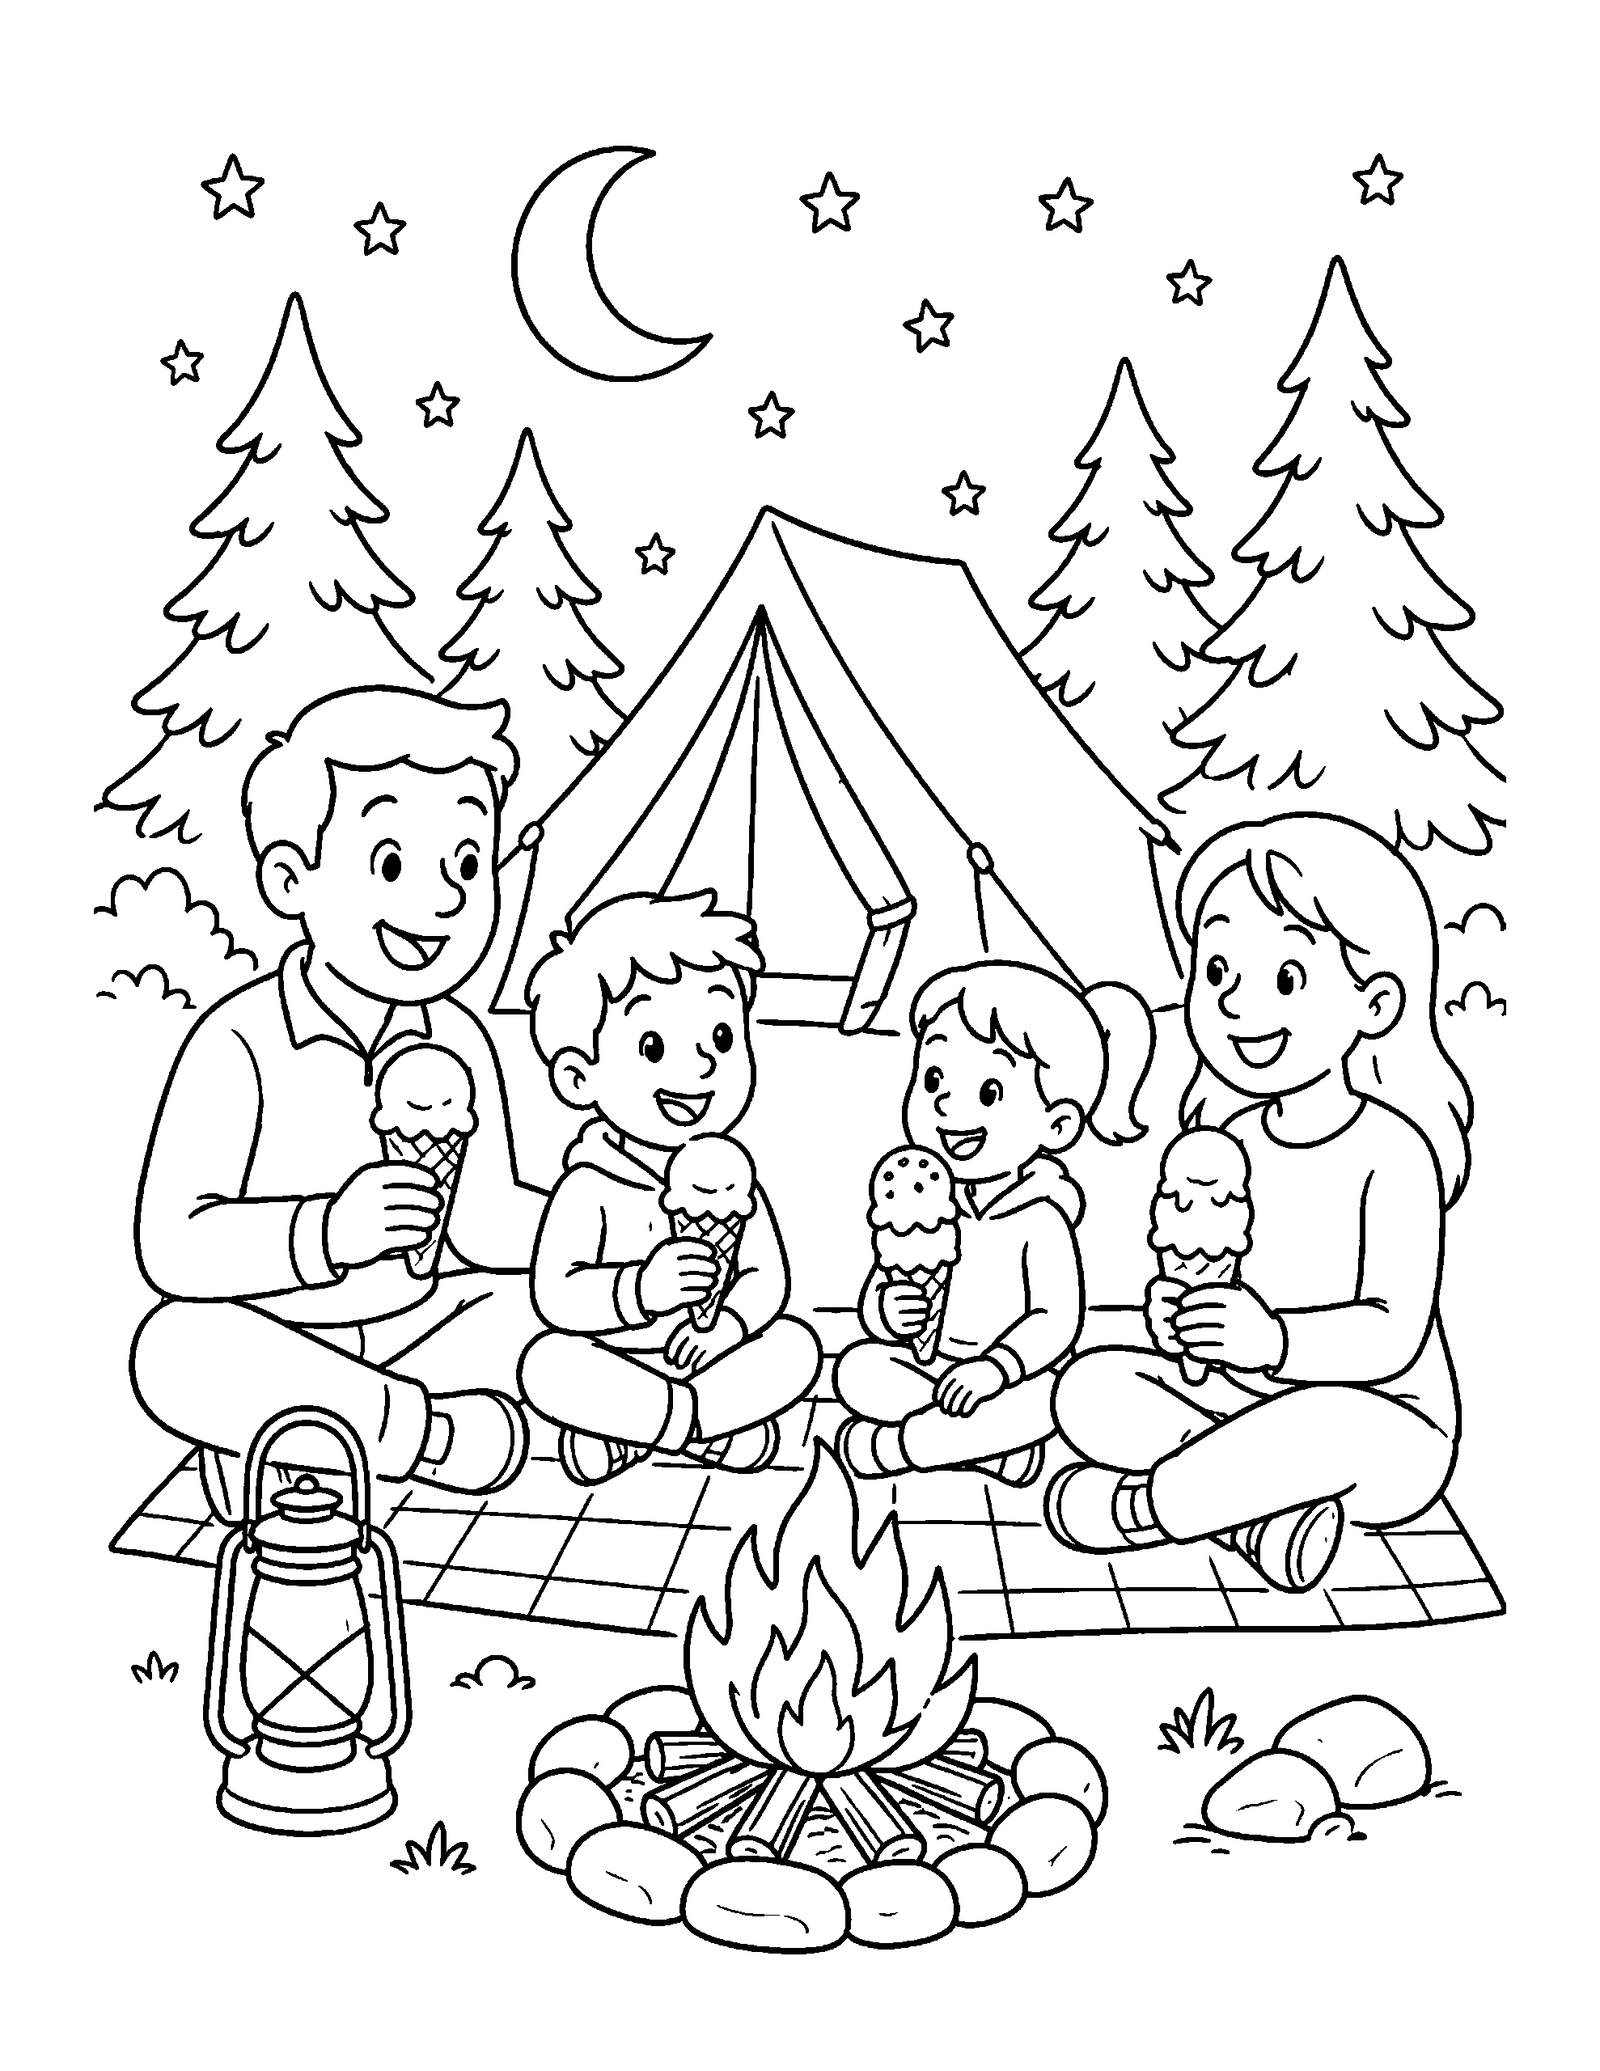
Download Camping Ice Cream Picnic
Count Scoops Shapes and Toppings
Count scoops, berries, wafers, popsicles, bowls, and topping groups. Compare which picture has more or fewer items and create a simple addition sentence from the objects shown.
Use one of the ice cream coloring pages as a focused prompt rather than trying to complete every idea at once. Give the artist a clear choice, enough time to inspect the design, and permission to change the plan when a new color relationship appears.
Design a Pretend Dessert Menu
Invent three original flavor names, assign a color and topping to each, and write a short menu description. Treat the activity as imaginative art rather than nutrition guidance.
Use one of the printable pages as a focused prompt rather than trying to complete every idea at once. Give the artist a clear choice, enough time to inspect the design, and permission to change the plan when a new color relationship appears.
At the middle of a ice cream coloring pages session, compare the visual structure with barbie coloring pages printable. Notice differences in line direction, background detail, and the way color communicates place or action.
Explore Warm and Cool Color Contrast
Use cool blues and greens around warm pink, orange, and brown desserts. Ask which area appears closest and how contrast makes the main treat easier to notice.
Use one of the printable pages as a focused prompt rather than trying to complete every idea at once. Give the artist a clear choice, enough time to inspect the design, and permission to change the plan when a new color relationship appears.
Printing and Supply Guidance
For crisp ice cream coloring pages, open the full-size image and print one test sheet. Select Letter paper in the United States or A4 where it is standard. Use portrait orientation unless the artwork is clearly horizontal, and choose fit to printable area if the outer lines appear cropped.
Crayons and colored pencils work well on ordinary copy paper. Washable markers or light paint perform better on heavier paper. Place scrap paper underneath marker work, protect the table, and allow wet pages to dry flat before stacking, trimming, or mounting them.
When several people use the same ice cream coloring pages, print a choice of designs rather than assigning one picture to everyone. A small selection respects different interests and skill levels. Display finished work without ranking it and ask each artist to describe one decision they enjoyed.
Adults who want reliable topic context can consult the USDA MyPlate dairy guidance. This standard dofollow hyperlink is included for reference and is not an affiliate or promotional link.
Creative Uses at Home and in Class
Keep selected ice cream coloring pages in a quiet-time folder with sharpened pencils and a short prompt. Ask the artist to name the setting, choose a mood, or add one background detail before starting the main colors.
Pair the printable pages with descriptive vocabulary. A child can list three nouns, two adjectives, and one action word, then write an original sentence that explains what is happening in the picture.
Turn copies into cards, bookmarks, folder covers, story panels, or collage pieces. Adults should supervise cutting and test glue on spare paper because too much moisture can wrinkle the printed sheet.
Use the artwork for observation practice by asking what is near, what is far away, which shapes repeat, and where contrast is strongest. These questions introduce art language without controlling the child’s choices.
Save completed pages in a dated binder or portfolio. On the reverse, record the palette, tools, and one sentence about the scene. The notes create a creative record without grading or comparing the work.
Print one design twice when possible. Color one copy with warm hues and the second with cool hues, then discuss how the mood changes even though the outlines and composition remain the same.
Near the end of the activity, offer minion coloring pages as a follow-on topic. Moving from ice cream coloring pages to a new subject keeps the familiar coloring routine while changing the imagery and vocabulary.
Frequently Asked Questions
Which page has the largest coloring areas
The single-scoop cone offers broad shapes and only a small group of sprinkle details.
Can children use unusual flavor colors
Yes. Purple vanilla, blue strawberry, or rainbow mint can support an invented shop story and original menu.
How can a teacher add early math
Students can count toppings, compare scoop quantities, sort shapes, and write simple addition or subtraction statements.
Is the dairy link a recipe or health claim
No. It is an authoritative USDA reference for families who want current general food-group information.
What works well for waffle texture
A light tan base with darker pencil lines keeps the grid visible without making the cone or bowl too heavy.
Finish the Ice Cream Coloring Pages Collection
These ice cream coloring pages turn ten printable scenes into opportunities for color planning, observation, vocabulary, storytelling, and calm creative time. Choose the page that suits the available time, print it at full size, and let the artist make the important visual decisions. With suitable supplies and a clear purpose, ice cream coloring pages can support an enjoyable project without unnecessary rules or pressure.